
Vegetables
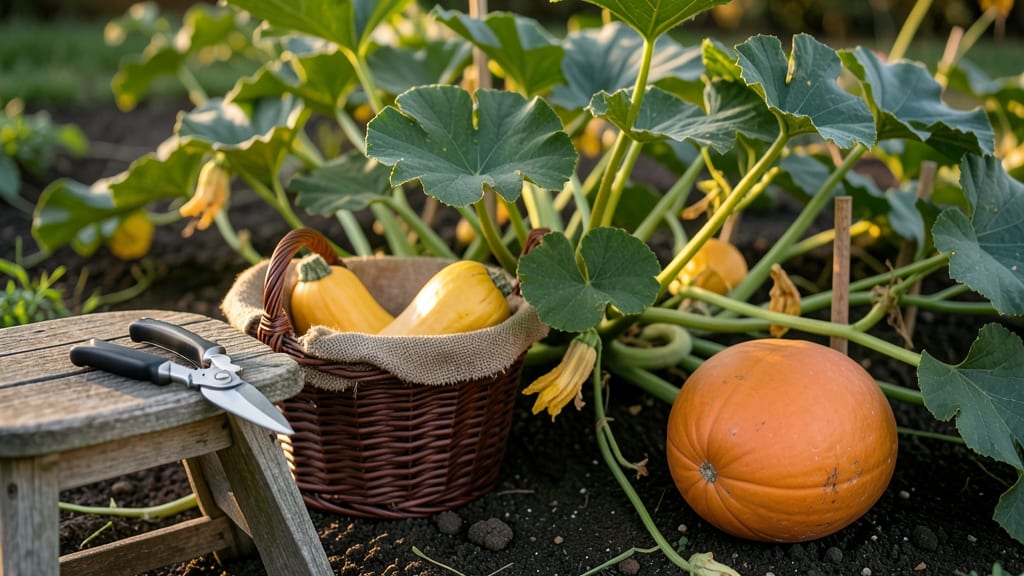
Harvesting your winter squash 🎃 at the right time means the difference between sweet, velvety flesh and tough, bland disappointment.
Picture this: you’ve waited months for your squash to ripen, only to cut into it and find the seeds are still hard or the skin is too soft. That’s a common mistake, and it’s totally avoidable with just a few simple checks.
Most varieties like butternut, acorn, and pumpkin squash reach peak ripeness when the rind turns dull and hard enough to resist a fingernail. But there’s more to it than just color—seed color and stem drying are key clues too.
In this guide, I’ll walk you through the exact tests to use, from the thumb-press method to the seed check, plus how to store your harvest for months. No more guessing—just perfect, flavorful squash every time.
How to test winter squash rind hardness for optimal harvest timing
Winter squash like butternut, acorn, and pumpkin reach their peak flavor when harvested at the right time. The rind hardness is your #1 clue—it tells you whether the fruit is ready to pick or still needs time on the vine.
Unlike summer squash, winter varieties store longer when fully mature, so timing is everything for both taste and shelf life.
Most gardeners rely on the thumb pressure test or nail scratch method to check ripeness. These simple techniques work for all winter squash varieties, but results can vary slightly based on seasonal temperatures and soil conditions.
For example, cooler fall weather may slow rind hardening, while hot, dry spells can speed it up. Understanding these variations helps you adjust your harvest schedule accordingly.
Here’s how to use the thumb pressure test: Press your thumbnail firmly into the squash’s skin. If it doesn’t leave a dent, the rind is ready. For the nail scratch method, gently scrape the skin with your fingernail—if it doesn’t puncture easily, the squash is mature.
These tests are especially critical for butternut squash, which can become fibrous if left too long on the vine.
Seasonal variations matter! In warmer climates (USDA Zones 8–10), squash may ripen faster due to extended growing seasons. In cooler regions (Zones 3–6), you might need to wait longer for the rind to harden fully.
Always check for stem drying—a shrunken, dry stem near the fruit is another sign of readiness.
| Variety | Rind Hardness Test | Seasonal Notes | Best Harvest Window |
|---|---|---|---|
| Butternut | Thumb press: no dent; nail scratch: no puncture | Slower hardening in cool weather; test 2x/week in fall | Late September–October (85–100 days) |
| Acorn | Rind resists thumb; skin dulls to matte | Ripens quickly in heat; check weekly in summer | Mid-September–October (75–90 days) |
| Pumpkin | Nail scratch: no mark; stem dries completely | Larger varieties need more time; test 1x/week | October (90–110 days) |
For butternut squash, pay extra attention to the neck area—it should feel firm and woody.
If it’s still soft, wait 3–5 days before retesting. Acorn squash, on the other hand, ripens faster and often changes color from green to a dull, matte finish. Pumpkins are trickier because their size can mask ripeness; always combine the rind test with a stem check.
One common mistake is harvesting too early to avoid frost, only to end up with underripe squash that spoils quickly. If your first frost is approaching and the rind isn’t hard enough, consider extending the season with row covers or a cold frame.
Alternatively, harvest slightly early and cure the squash indoors to improve storage life.
Pro tip: Tap the squash gently with your knuckles. A hollow sound means it’s ready, while a dull thud signals it needs more time. This works especially well for large pumpkins, where visual cues can be harder to spot. Combine this with the rind test for foolproof results.
After harvesting, let squash cure for 10–14 days in a dry, warm spot (70–85°F) to develop full flavor and extend storage life. Avoid washing until curing is complete—moisture speeds up rot. With these techniques, you’ll harvest winter squash at its sweetest, ensuring months of delicious meals ahead.
🎃
The seed check method: why seed color reveals sweetness levels
Most gardeners focus on rind hardness when harvesting winter squash, but the seed check method is your secret weapon for predicting sweetness levels. Inside every ripe squash, the seeds hold clues about flavor—white seeds mean mild, while brown seeds signal peak sweetness.
This simple trick helps you avoid harvesting too early (bland) or too late (overripe and stringy).
To perform the seed check, cut open a squash and examine the seed cavity. Look for color changes in the seeds: creamy white seeds indicate the squash is still immature, while tan or brown seeds mean it’s reached its sweetest stage.
For varieties like butternut squash, brown seeds often correlate with 30% higher sugar content compared to white-seeded squash.
Here’s the key-takeaway you can’t miss: the seed color isn’t just about taste—it’s also a sign of textural readiness. Squash with brown seeds will have firmer flesh and fewer seeds, while white-seeded squash may still feel grainy or watery inside.
This method works for all winter squash varieties, from acorn to pumpkin, but timing varies slightly by type.
✅ Seed Check Rules for Sweetness
White seeds: Squash is underripe—harvest in 5–7 days for better flavor. 🟢
Tan/brown seeds: Peak sweetness and texture—harvest immediately! 🟡
Dark brown/black seeds: Overripe—flesh turns stringy and less sweet. 🟤
Pro Tip: Combine the seed check with the thumb pressure test for foolproof results.
One common mistake is assuming all squash mature at the same rate. For example, acorn squash seeds may turn brown 2–3 weeks earlier than pumpkin squash seeds, even if the rinds look equally hard.
That’s why I always cross-check both the rind hardness and seed color before harvesting. Ignoring seed color can lead to squash that’s too tough to cut or too watery to store.
For storage squash like butternut, aim for brown seeds with a slightly dry cavity. This ensures the squash will keep for 2–3 months in a cool, dark place.
If you’re harvesting for immediate use (like roasting), slightly tan seeds are perfect—just don’t wait until the seeds turn black, or you’ll regret the grainy texture. Always cut a test squash first to avoid overharvesting!
Remember, the seed check method is your flavor guarantee. Next time you’re debating whether a squash is ready, skip the guesswork and crack it open. Your taste buds—and your storage pantry—will thank you. Now go enjoy that perfectly sweet harvest! 🎃