
Light Requirements
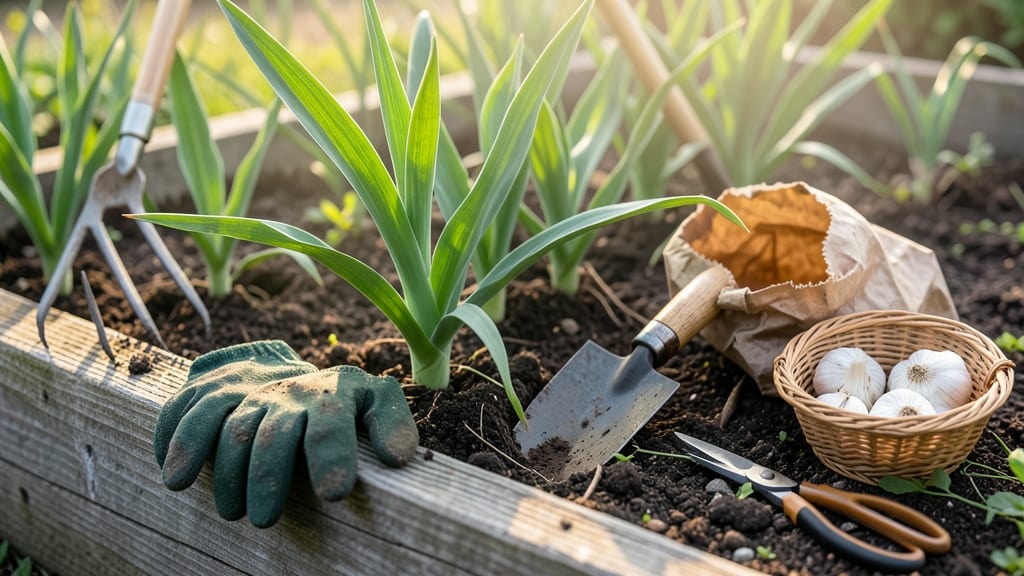
You can harvest garlic when the lower leaves turn brown and begin to dry, but the upper leaves stay green and healthy—this is the sweet spot for flavor and storage.
Picture this: you’ve spent months nurturing your 🧄, only to dig up bulbs that are either too small or already sprouting. Knowing the right moment to harvest is everything, and it’s easier than you think.
In USDA Zone 6a, like where I garden, the ideal harvest window falls between late June and early July. But timing isn’t just about the calendar—it’s about what’s happening right under your soil.
Below, I’ll walk you through the 5 foolproof signs your garlic is ready, how to test bulbs for perfection, and what happens if you miss the window—plus how to fix it.
5 Visual signs your garlic is ready for harvesting
Harvesting garlic at the right time ensures you get the most flavorful, plump bulbs that store well all winter. Unlike many vegetables, garlic doesn’t give obvious ripening signs like color changes or fruit softening.
Instead, you’ll need to watch for subtle but unmistakable visual cues that tell you it’s time to dig. Missing these signs can lead to small, pungent bulbs that won’t keep long-term.
Garlic planted in fall typically matures the following late spring or early summer, depending on your climate zone. For example, in Zone 6a, I always aim to harvest between late June and early July.
But timing isn’t just about the calendar—it’s about what’s happening above and below ground. Let’s explore the five key visual signals that guarantee your garlic is ready for harvest.
🌱 5 Visual Signs Your Garlic Is Ready
-
1. Lower Leaves Turn Brown and Dry
The bottom 1/3 of leaves will yellow and crisp, while the top leaves stay green. This means the bulb is fully developed underground. -
2. Papery Skins Form Around the Bulb
Dig a test clump—if the individual cloves are wrapped in tight, papery skins, it’s harvest time. Loose skins mean it’s not ready. -
3. Stem (Neck) Begins to Shrivel
The central stem will start drying out and shrinking. A firm, upright stem means more growing time is needed. -
4. Bulb Size Matches Variety Expectations
Compare your bulbs to package descriptions. For example, hardneck varieties should be 2-3 inches wide, while softneck types may be slightly larger. -
5. Soil Around Roots Is Dry
The top 2-3 inches of soil should feel dry. Garlic needs dry conditions for 2-3 weeks before harvest to cure properly.
One of the most reliable cues is the leaf browning pattern. I’ve learned that if more than half the leaves turn brown, the bulb is likely overripe and may split when cured.
The ideal moment is when only the lower leaves show signs of drying—this ensures maximum size and storage life.
Another pro tip: Test a bulb by gently squeezing it through the soil. If it feels firm and fully formed (like a small onion), it’s ready.
Soft or underdeveloped bulbs need more time. This simple finger squeeze test saves me from digging too early and ending up with small, pungent cloves.
For hardneck varieties, like ‘Music’ or ‘German White’, I harvest when the flower scapes (if any) have already been removed. This redirects energy to bulb development.
Meanwhile, softneck varieties, such as ‘Silverskin’ or ‘Artichoke’, often take a few extra weeks to mature because they focus on bulb size over scape production.
Regional differences also play a role. In warmer climates (Zones 7-10), garlic may mature earlier, sometimes as early as May or June. Conversely, in cooler zones (Zones 3-5), the harvest window might stretch into July or even August.
Always adjust your expectations based on your last frost date and local growing conditions.
If you’re unsure whether your garlic is ready, dig a test clump and inspect the bulbs. This non-destructive check helps you avoid harvesting too early or late. Remember, garlic bulbs won’t ripen further after being pulled from the ground, so timing is everything for flavor and storage potential.
Once you’ve confirmed your garlic is ready, the next step is proper curing. Lay the bulbs in a shady, dry, and well-ventilated area for 2-3 weeks to toughen the skins.
This step is crucial for preventing rot and extending shelf life. But first, you’ve got to spot those 5 unmistakable signs—now you’re equipped to do just that! 🌿
How to test garlic bulbs for perfect harvest timing
Testing your garlic bulbs for harvest readiness is easier than you think, and it starts with a simple finger squeeze test. Gently squeeze a bulb through the soil—if it feels firm and fully formed, it’s ready.
Soft or small bulbs need more time, while bulbs that feel hollow or shriveled are past their prime.
For hardneck varieties, harvest when 50-60% of the leaves have turned brown, usually in late June to early July. Softneck varieties take longer, often ready by mid-July to early August. Always check the neck (stem)—it should start drying but not completely collapse.
Don’t rely on the calendar alone. Dig up one bulb to inspect its size and skin. A ready bulb will have tight, papery skins and measure about 2-3 inches in diameter. If the skins are loose or the bulb feels small, wait a week or two before harvesting again.
| Test Method | Hardneck Varieties | Softneck Varieties |
|---|---|---|
| Leaf Condition | 50-60% brown | 30-50% brown |
| Bulb Firmness | Firm and full | Firm and plump |
| Neck Appearance | Drying but upright | Starting to shrivel |
| Harvest Window | Late June - Early July | Mid-July - Early August |
| Soil Check | Dry topsoil | Moderate moisture |
Soil conditions also play a key role. In dry climates, harvest when the topsoil feels dry to the touch. In wetter regions, wait until the soil is moderately dry but not bone-dry. Overwatering before harvest can lead to rot, so reduce watering 2 weeks before digging.
Pro tip: Harvest on a dry, sunny day to speed up curing. Use a fork to gently loosen the soil around the bulb, then lift it carefully. Shake off excess dirt but don’t wash the bulbs—this removes protective layers and invites mold.
Once harvested, let your garlic cure in a shady, well-ventilated area for 2-4 weeks. This hardens the skins and extends storage life. If you miss the window, don’t panic—just cure any harvested bulbs immediately to salvage what you can.