
How To
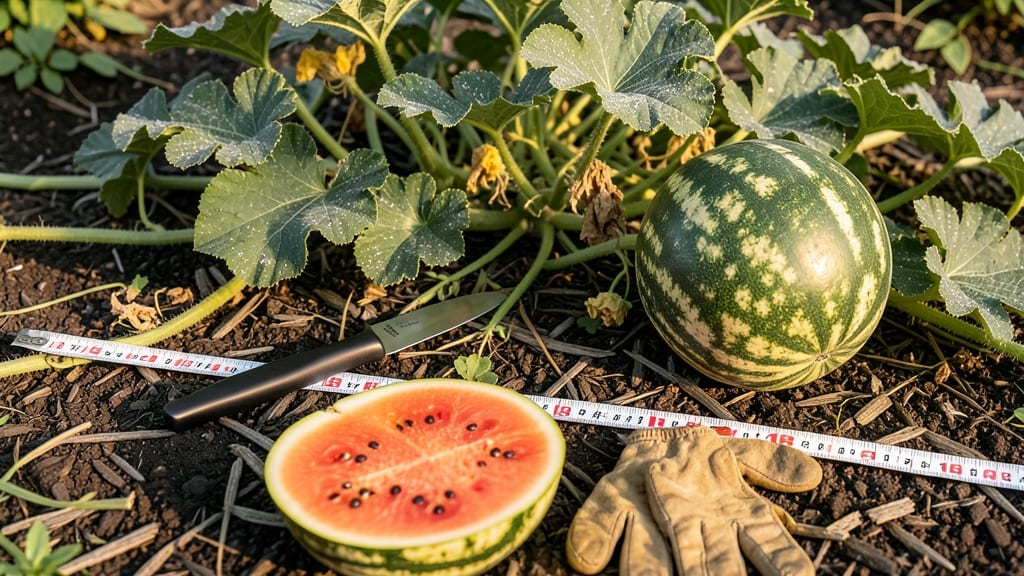
Knowing when to harvest watermelon means catching that perfect balance of sweetness and texture—before it turns mealy or stays bland.
Picture this: you’ve spent months nurturing your 🍉 plants, and now the moment of truth arrives. One wrong move, and you’re left with a fruit that’s either too hard or too soft. But there’s a science to it—one that doesn’t rely on guesswork.
From the cream-colored ground spot to the telltale dryness of the tendril, I’ll walk you through the three foolproof signs that guarantee a juicy, flavorful harvest every time. No more second-guessing, no more wasted melons.
Ready to master the art? Here’s how to spot a ripe watermelon—without cutting into it first.

3 Non-negotiable visual and physical signs your watermelon is ready
There’s nothing worse than biting into a watermelon that’s either bland from underripeness or mealy from overripeness. But when you know these science-backed ripeness cues, you’ll never guess again.
The key lies in three foolproof indicators: the ground spot color, tendril dryness, and the thump test. These signs work for all watermelon varieties, from classic seedless types to heirloom favorites.
First, let’s tackle the ground spot, the small circular area where the watermelon rested on the soil. When ripe, this spot changes from white or pale green to a creamy yellow or buttery tan.
This color shift signals the fruit’s sugar development is complete. Ignoring this cue often leads to harvesting too soon, leaving you with a watery, flavorless melon.
| Ripeness Indicator | Unripe Characteristics | Ripe Characteristics | Visual Example |
|---|---|---|---|
| Ground Spot | White or pale green | Creamy yellow/buttery tan | |
| Tendril Dryness | Green and flexible | Brown and crispy | |
| Thump Test | Dull thud (unhollow) | Hollow sound (like drum) | 🔊 |
| Rind Texture | Soft or yielding | Slightly tough and firm | ✋ |
| Weight | Light for size | Heavy for size | ⚖️ |
The second clue is the tendril near the stem. When your watermelon is ready, this tendril will be dry, brown, and crispy—almost like a straw. If it’s still green and flexible, the fruit needs more time.
This is a plant’s natural signal that it’s cut off nutrients and the melon is mature. Pro tip: Check this tendril before the ground spot, as it often changes first.
Next, the thump test is your final check. Gently tap the watermelon with your knuckles—if it sounds hollow and deep (like a drum), it’s ripe. A dull thud means it’s still developing.
Be careful not to thump too hard, or you’ll bruise the fruit. For extra accuracy, compare two melons side by side: the one with the louder, clearer sound is the winner.
Don’t overlook the weight and rind firmness either. A ripe watermelon feels heavy for its size because it’s packed with juice. Press your thumb into the rind: if it feels slightly tough but not hard, it’s ready.
A soft or spongy rind is a red flag for overripeness. This combo of weight and texture is your backup when other signs are borderline.
For striped varieties like Crimson Sweet, look for the stripes to darken and sharpen. In yellow-fleshed types, the rind may turn a deeper yellow. Seedless varieties often have a softer rind when ripe, so rely more on the ground spot and tendril.
These variety-specific tweaks ensure you’re not missing subtle clues unique to your melon type.
Timing matters too. Most watermelons reach peak ripeness 70–90 days after planting, but heat waves can speed this up. If your melons are ready before the first frost (typically mid-October in Zone 6a), harvest them immediately.
Store them in a cool, dry place (50–55°F) to preserve sweetness for weeks.
Now you’re equipped to harvest like a pro! Combine these three non-negotiable signs—ground spot, tendril, and thump test—and you’ll never miss peak ripeness again. Next time, skip the guesswork and enjoy a burst of sweet, juicy perfection every time you slice into your homegrown watermelon. 🍉
How to use the thump test (and other sensory tricks) for perfect timing
When your watermelon reaches maturity, it’s time to put your senses to work. The thump test is the most famous trick, but there are other sensory cues that work just as well.
I’ve tested these methods on my own crops, and they consistently deliver the sweetest, juiciest watermelons every season. Let’s dive into how to use these tricks like a pro.
The thump test relies on the science of sound. A ripe watermelon produces a deep, hollow thud when tapped, while an unripe one sounds dull or solid. But here’s the catch: you need to know how to do it right.
Too much force, and you’ll bruise the fruit. Too little, and you won’t get a clear answer. Balance is key, especially when working with different varieties that vary in size and firmness.
Alternative methods like checking the stem or assessing weight can also give you confidence in your harvest timing. For example, a dry, brown stem near the fruit is a sure sign of ripeness. Meanwhile, a watermelon that feels heavy for its size is often a winner. These tricks work together, so I recommend using at least two methods to confirm ripeness before cutting.
Step-by-Step: How to Test for Ripeness
- Thump Test: Tap the watermelon with your knuckles. A ripe one sounds hollow and deep, while an unripe one sounds dull or solid.
- Ground Spot: Check the cream or yellow spot on the underside. If it’s white, the melon isn’t ready.
- Stem Check: The stem near the fruit should be dry and brown. If it’s still green, wait a few more days.
- Weight Test: Lift the watermelon. A ripe one feels heavy for its size due to high water content.
- Crease Check: Look for a crease forming between the melon and the vine. This indicates it’s nearly ready.
Pro Tip: Combine at least two methods for the most accurate results. For example, a hollow thump plus a dry stem = harvest time!
One common mistake I see is thumping too hard, which can crack the rind or bruise the fruit. Instead, use the back of your hand or knuckles to tap gently. Another trick is to tap near the stem end, where the sound is often clearer.
For smaller varieties, like dwarf watermelons, a lighter tap works best since their rinds are thinner.
Not all watermelons respond the same way to these tests. For example, yellow-fleshed varieties might not thump as loudly as classic red-fleshed ones. That’s why I always cross-reference the thump test with the ground spot and stem dryness.
If two or more signs point to ripeness, it’s time to harvest. Trust your instincts—you know your garden best!
Remember, the goal is to harvest at peak sweetness, not perfection. Even the best tests can be fooled by weather or soil conditions, so don’t stress if one melon isn’t perfect. With practice, you’ll develop a keen eye (and ear!) for knowing exactly when to pick. Happy harvesting!