
How To
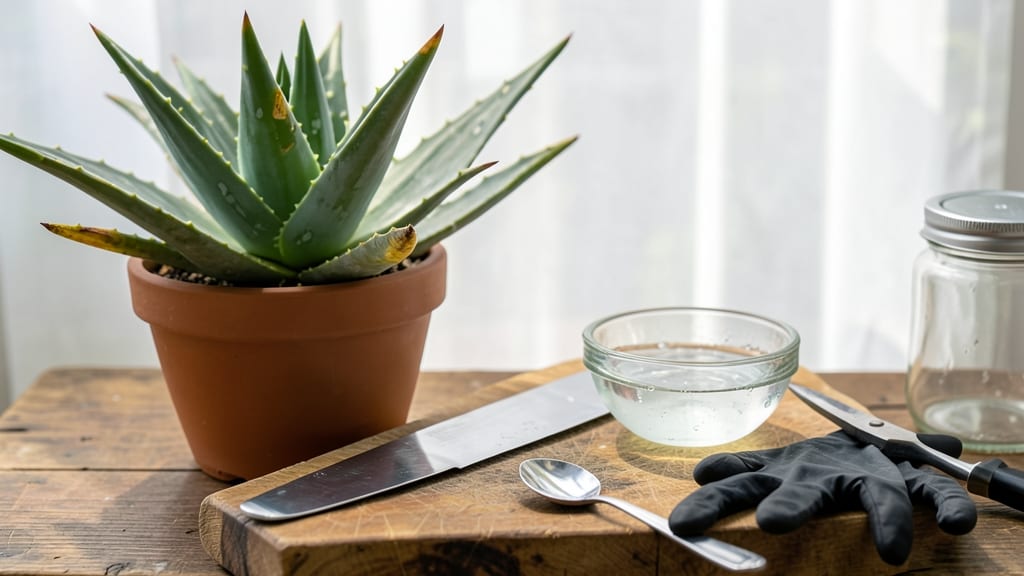
Harvesting aloe gel from your mature 🌱 aloe vera plant is easier than you think—and doing it wrong can waste gel or stress your plant.
Picture this: You slice a leaf, only to find the gel is watery or the cut heals poorly. That’s not just frustration—it’s a sign you’re missing the key steps for clean, high-yield harvests.
In this guide, I’ll walk you through how to pick the perfect leaves, cut them the right way, and extract gel without damaging your plant. No guesswork, just proven tricks for maximum yield every time.
Ready to turn your aloe’s healing power into a sustainable routine? Let’s get started with the tools and timing that make all the difference.
Step-by-step guide to harvesting aloe gel without damaging the plant
Harvesting aloe gel from your aloe vera plant is simple once you know the right techniques. The key is selecting the perfect leaves and cutting them at the right angle to maximize gel yield while keeping your plant healthy.
Overharvesting or improper cuts can stress your plant, so follow these steps carefully to ensure a clean, waste-free harvest every time.
Before you begin, gather your tools: a sharp knife or pruning shears, a clean bowl, and latex gloves (aloe sap can irritate skin). Choose a mature leaf—look for leaves that are at least 12 inches long, thick, and have brown or yellow tips.
These signs indicate the leaf is ready for harvest and won’t harm your plant’s growth.
Choose an outer leaf that’s fully grown and shows signs of aging (brown/yellow tips). Avoid leaves near the center—they’re still growing and vital for the plant’s health.
Put on latex gloves to protect your skin from the aloe’s mild irritants. Wipe your knife or shears with rubbing alcohol to prevent bacterial contamination.
Hold the leaf firmly and cut it about 1 inch from the base, angling the blade slightly. This reduces water pooling and speeds up regrowth.
Place the cut leaf in a bowl, gel-side up. Let it sit for 10-15 minutes to allow the yellow latex (aloin) to drain out—this makes the gel safer for skin use.
Use a spoon or knife to scoop out the clear gel from the leaf. Store it in an airtight container in the fridge for up to 1 week or freeze for longer storage.
Compost the remaining leaf pulp or discard it—never throw it in the trash if you’ve used pesticides, as it can be toxic to wildlife.
Avoid watering the plant for 3-5 days to let the cut heal. Resume normal care, ensuring it gets bright, indirect light to encourage new growth.
Timing your harvest is crucial. Spring and summer are ideal because your aloe vera plant is actively growing and can recover faster. Avoid harvesting in winter, when the plant is dormant and more vulnerable to stress.
If you’re harvesting multiple leaves, space them out by 2-3 months to prevent overstressing your plant.
One common mistake is cutting too close to the base, which can damage the plant’s growth point. Always leave at least 1 inch of stem attached. Another tip: Rotate your harvests—never take more than 1/3 of the outer leaves at once.
This ensures your aloe vera stays lush and continues producing gel-rich leaves for years.
After harvesting, monitor your plant for signs of stress, like yellowing leaves or slow growth. If you notice these, reduce watering and move the plant to a sunnier spot to help it recover.
With proper care, your aloe vera will bounce back and keep yielding high-quality gel for skincare or household remedies.
Pro tip: Use the harvested leaf base for propagation! Place it in dry soil, and it’ll often sprout new roots within a few weeks—giving you a free aloe plantlet. This is a great way to expand your aloe collection without spending a dime.
By following these steps, you’ll harvest aloe gel efficiently while keeping your plant thriving. Whether you’re using it for sunburn relief or homemade skincare, your aloe vera will thank you for the gentle treatment.
Best practices for aloe leaf cutting: what to avoid and pro tips
Harvesting aloe leaves incorrectly can leave your plant looking ragged and reduce future gel yields. One of my biggest mistakes early on was cutting leaves too close to the base stem, which stunted regrowth. The key is precision—always target leaves that are fully mature (12+ inches) with brown tips.
Over-harvesting is another common pitfall. If you take more than 1-2 leaves per harvest, your aloe may struggle to recover. I’ve seen plants with yellowing leaves or slow growth after aggressive cutting—signs of stress. The rule of thumb? Never harvest more than 25% of the plant’s leaves at once.
Your choice of cutting tool matters more than you’d think. A sharp chef’s knife gives cleaner cuts than scissors, which can crush leaf fibers and waste gel. I always sterilize my blade with rubbing alcohol before cutting to prevent bacterial infections.
🔪 Tool Comparison: Knife vs. Scissors
| Factor | Sharp Knife | Scissors |
|---|---|---|
| Cut Quality | Clean, precise | Crushed edges |
| Gel Waste | Minimal | Moderate |
| Plant Stress | Low | Higher |
| Sterilization | Easy | Difficult |
Pro Tip: Use a serrated knife for thicker leaves—it grips better and reduces slipping.
After cutting, let the leaf dry for 5-10 minutes before extracting gel. This prevents the gel from turning yellow or slimy. I’ve found that placing the cut leaf in a cool, dark place overnight actually improves gel clarity—it stabilizes the pH and reduces oxidation.
To speed up regrowth, always leave the bottom 2 inches of leaf attached to the plant. This acts as a natural scaffold for new growth. I’ve seen aloe plants regenerate new leaves in 3-4 weeks when given proper care post-harvest, compared to months if cut too short.
Finally, avoid harvesting during winter months (December-February) when your aloe is semi-dormant. The plant’s energy is focused on survival, not recovery. I learned this the hard way when my aloe took 6 months to bounce back after a winter harvest—now I wait until spring for optimal results. 🌱