
How To
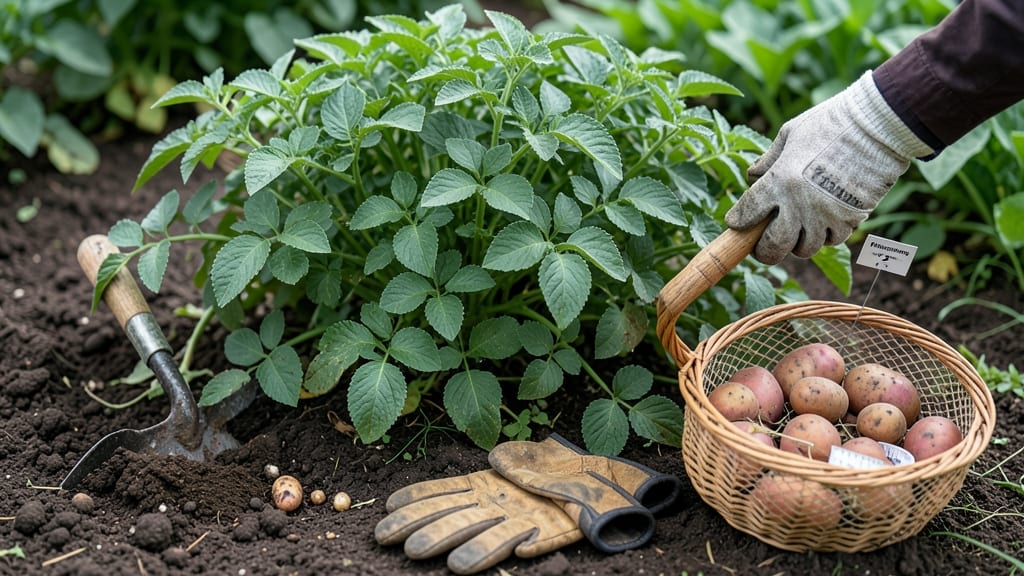
To know when to harvest potatoes, watch for yellowing foliage and firm tubers the size of a golf ball—these are your clearest signs that the 🥔 are ready to pull from the soil.
Digging up potatoes too early means small, underdeveloped tubers, while waiting too long risks shriveling and disease—but how do you know the perfect moment to harvest?
Most gardeners rely on a mix of visual cues: the leaves turning yellow, the flowers wilting, and the skin of the tubers resisting a gentle squeeze. Early varieties may be ready in 70 days, while late-season types need closer to 120 days.
Below, I’ll walk you through the finger test, skin color changes, and seasonal timing so you never miss the window—or end up with a pile of shriveled spuds.
The finger test method: how to check potato readiness underground
Knowing exactly when to harvest potatoes can feel like guessing—until you master the finger test method. This simple technique lets you check tuber readiness without digging up the entire plant.
The key is understanding tuber firmness and size through gentle soil probing, which reveals whether your potatoes are perfect for eating fresh or need more time to mature for storage.
I’ve used this method for years, and it’s saved me from pulling up underdeveloped tubers or waiting too long and risking shriveled potatoes. The finger test works for both early harvests (new potatoes) and late-season storage varieties.
Here’s how to do it right, with visual cues to guide your timing.
Step-by-Step Finger Test for Potato Harvest Readiness
- 1 Choose the right time: Test early varieties (60-70 days) when foliage shows first yellowing. For storage potatoes (90-120 days), wait until full leaf dieback.
- 2 Gently probe the soil: Use your index finger to push 2-3 inches deep into the soil, about 6 inches from the plant stem. Avoid disturbing roots.
- 3 Feel for resistance: If your finger hits firm resistance, you’ve found a mature tuber. For new potatoes, look for small, tender tubers (golf-ball size) that yield slightly.
- 4 Check skin condition: Firm, dry skin means the tuber is ready. Green or waxy skin signals it needs more time. Shriveled or cracked skin means you waited too long.
- 5 Test multiple spots: Probe 3-4 locations per plant to account for uneven tuber development. Early varieties may have clusters of small tubers, while storage types produce fewer, larger ones.
- 6 Harvest with care: Once tubers feel firm and dry-skinned, use a fork or hands to gently loosen soil. Avoid cutting tubers—handle them like eggshells to prevent bruising.
One common mistake I see is testing too aggressively, which can damage tubers or disturb the plant. Instead, probe lightly—think of it like checking a ripe avocado for doneness.
The goal is to feel, not dig. For early harvests, you’ll often find small, tender tubers near the surface, while storage potatoes hide deeper (up to 12 inches).
Pro tip: If you’re growing multiple potato varieties, keep a harvest journal to track when each type reaches finger-test readiness. For example, Yukon Golds often signal readiness 1-2 weeks earlier than Russets.
Pay attention to soil temperature too—cool soils (55°F or below) slow tuber development, so adjust your testing schedule accordingly.
Another visual cue to pair with the finger test is tuber size. For new potatoes, aim for 1-2 inch diameters—these are delicate and waxy, perfect for roasting or boiling.
For storage potatoes, tubers should be baseball-sized (3+ inches) with thick, papery skin. If you’re unsure, harvest a few test tubers and check their condition before committing to a full dig.
Remember, the finger test isn’t just about size—it’s about texture. A ready tuber will feel dense and slightly springy under your finger, while an unripe one will feel soft or mushy.
Overripe tubers, on the other hand, may crumble or have shriveled skin. This method has saved my potato harvests from becoming soggy or diseased due to overcrowding in the soil.
For container-grown potatoes, the finger test works the same way, but you’ll need to probe through the pot’s drainage holes or gently lift the plant to check. Just be careful not to disrupt the root system if you’re not ready to harvest.
If you’re growing in straw or mulch, part the material to expose the soil before testing.
Finally, timing matters based
Skin color & plant signals: 5 visual clues your potatoes are ready
Your potatoes send clear visual signals when they're ready to harvest, starting with the skin color transformation from green to tan or white. This change indicates the tubers have stopped growing and are safe to dig up.
Early varieties like Red Pontiac may show these signs as early as 70 days, while late-season types like Russet Burbank could take up to 120 days.
Beyond skin color, watch for leaf yellowing and flower wilting—these are nature's way of telling you the plant is redirecting energy to the tubers below. The foliage will eventually die back completely, which is your final green light to harvest.
But timing matters: if you wait too long, the tubers may shrink and develop scabs.
🌱 5 Visual Clues Your Potatoes Are Ready
- 🟢 Skin color shifts from green to tan/white (indicates maturity)
- 🌿 Leaves yellow and begin to wilt (energy redirects to tubers)
- 🌸 Flowers die back completely (signals tuber readiness)
- 🌡️ Soil temperature drops below 80°F (ideal for harvest)
- 🥔 Tubers resist pressure when tested with fingers (firmness = readiness)
For early varieties, focus on the leaf yellowing and flower death—these often appear first. Late-season types, however, may require you to wait until the foliage is completely brown and crispy before digging.
Pro tip: Hill soil around plants as they grow to prevent green tubers (which contain toxic solanine).
Seasonal variations matter too. In cool climates, potatoes may mature faster due to shorter growing seasons, while hot regions can delay skin color changes. Always check tuber size—aim for golf-ball to baseball-sized tubers for storage varieties.
Smaller ones are perfect for new potatoes, but larger tubers store better long-term.
One final trick: Gently brush away soil near the plant base to spot new sprouts on harvested tubers—this is a foolproof sign for new potatoes. For storage potatoes, wait until the foliage is fully dead and the soil is dry and crumbly before digging.
This ensures maximum yield and longer storage life.
Remember, harvest timing directly impacts flavor and storage potential. Ignore these signals, and you risk shriveled tubers or disease-prone spuds. Pay attention, and you’ll enjoy a bountiful harvest every season! 🌱