
How To
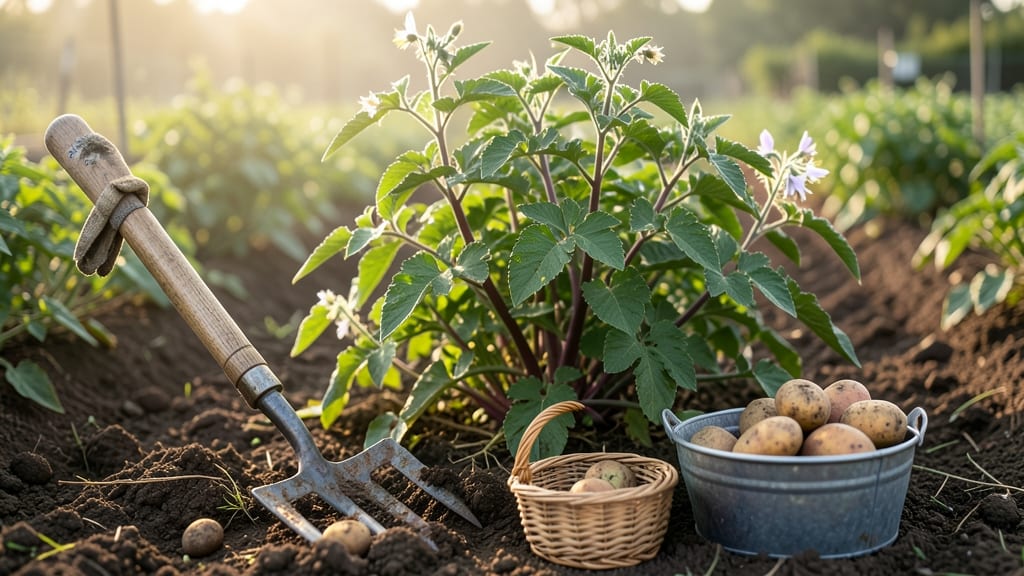
Harvesting potatoes at the right time means waiting 60 to 120 days after planting, but the clock isn’t everything—your soil, your variety, and even the weather play a role.
Ever dug up a potato only to find it still tiny and mealy, or worse, left it too late and watched it rot in the ground? Timing is the difference between a golden, crisp tuber and a sad, shriveled mess.
Most gardeners rely on days to maturity, but the real clues are right under your nose: yellowing foliage, the "skin slip" test, and roots the size of a golf ball. I’ll show you how to spot these signs so you never guess again.
You’ll also learn how to adjust for early vs. late varieties, fix a missed harvest, and store your potatoes for months—no more wasted crops or bland, starchy tubers.

Potato harvest timeline: days to maturity by variety & seasonal factors
Timing your potato harvest correctly ensures you get the best flavor, size, and storage life. Most varieties mature between 60 and 120 days, but exact timing depends on the type you're growing and your local climate.
Early varieties like Red Norland can be ready in as few as 60 days, while late varieties like Russet Burbank may take up to 120 days or more.
Your planting time also plays a crucial role. If you plant too late in the season, your potatoes may not mature before the first frost. Conversely, planting too early in warm climates can lead to premature sprouting or even rot if tubers overstay in the soil.
Understanding these factors helps you plan for a successful harvest every year.
Climate is another critical factor. Cooler regions with shorter growing seasons favor early-maturing varieties, while warmer climates can support longer-season potatoes. Even within the same variety, a cool, wet spring can delay maturity by 10-20 days, while a hot, dry summer might speed it up.
Soil conditions matter too. Well-draining, loose soil with plenty of organic matter encourages faster, healthier tuber development. Compacted or waterlogged soil can stunt growth, leading to smaller potatoes or uneven maturity. Always aim for soil with a pH between 5.0 and 6.5 for optimal results.
Now, let’s break down the harvest timelines for three of the most popular potato varieties, along with seasonal adjustments you’ll need to make.
For early varieties, such as Red Norland or Yukon Gold, you can often get away with planting as late as mid-April in most climates and still harvest before the first frost. These potatoes are perfect for gardeners in USDA Zones 3-6 who want a quick turnaround.
If you're in a warmer zone like Zone 7 or higher, you can even plant in fall for a winter harvest.
Mid-season varieties like Kennebec or LaSoda strike a balance, offering a 90-110 day maturity window. These are ideal for gardeners who want a reliable crop with good storage potential. Plant them 4-6 weeks before your last frost date to ensure they mature before the first frost.
In southern climates, you might need to provide shade during peak summer heat to prevent stress.
Late varieties, including Russet Burbank and many fingerling potatoes, require the longest growing season. These are best suited for gardeners in USDA Zones 4-8 with a long frost-free period. Plant them as early as possible—often in late winter or early spring—to maximize their growth potential. If you're in a cooler climate, consider using row covers to extend the season.
One trick I use to extend the growing season for late varieties is to plant them in containers. This allows me to move them to a sunny spot or even bring them indoors during unexpected cold snaps.
Containers also help prevent soil-borne diseases, which can be a problem in heavy, wet
The golf-ball root & skin slip test: 3 visual cues to harvest potatoes at peak freshness
Forget counting days—your potatoes are telling you exactly when to harvest. The key lies in three simple visual cues: the golf-ball root size, the skin slip test, and the condition of your foliage.
These signs work for both new potatoes and fully mature tubers, saving you from guesswork and wasted crops.
I’ve learned the hard way that relying solely on days to maturity can backfire. A 90-day variety planted late might still need extra weeks, while an early sprouter could be ready sooner. Instead, trust these three foolproof indicators to know when your tubers are perfect for digging.
🌱 3 Visual Cues to Harvest Potatoes
- 1. Golf-Ball Roots: Dig gently near the plant base. If roots are 1-2 inches thick (like a golf ball), tubers are ready. Smaller roots mean wait 1-2 weeks.
- 2. Skin Slip Test: Gently brush soil away. If the skin slips off easily, it’s time to harvest. Stubborn soil means more time underground.
- 3. Yellowing Vines: When 50% of foliage turns yellow and wilts, tubers are at peak flavor. Wait too long, and they’ll sprout or rot.
Start by checking the root size first. New potatoes (like Red Pontiac) can be ready in as few as 50 days, while their roots may only be pea-sized.
For mature varieties (like Russet Burbank), aim for roots the size of a golf ball—about 1.5-2 inches in diameter.
The skin slip test is my favorite trick. Run your fingers over a tuber’s skin—if it feels smooth and separates from soil, it’s harvest-ready. For new potatoes, the skin may still be thin but firm. For storage varieties, a thicker, rougher skin means they’re fully mature.
Don’t ignore the foliage! When your potato plants start yellowing and dying back, it’s nature’s signal to dig. This usually happens 2-3 weeks before the tubers reach their peak. If you see green stems lingering, you’ve waited too long—those tubers may be green and toxic.
Common mistakes? Harvesting when soil is too wet (causes bruising) or ignoring partial vine death (some varieties need all foliage dead). Pro tip: Dig a test tuber 2 weeks before your expected harvest date to confirm readiness.