
Planting
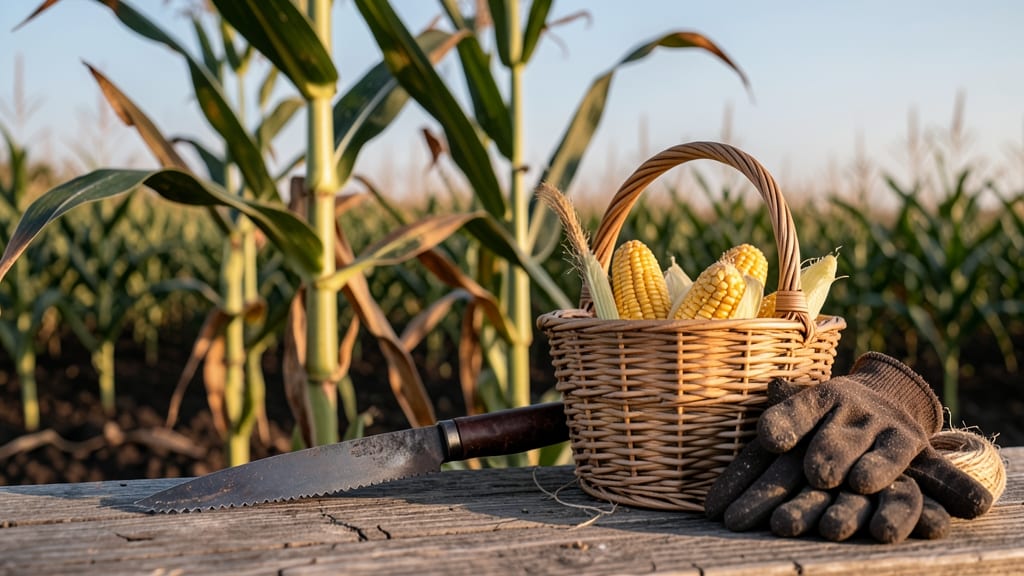
Harvesting corn from seed at the right time turns starchy kernels into sweet, juicy perfection 🌽 — and that window is narrower than you think.
Picture this: you’ve nurtured your corn for 90 days, and now the silks are drying, the husks feel snug, but you’re not sure if they’re ready. One more week could mean the difference between a tender ear and a tough, mealy mess.
I’ve learned that lesson the hard way—after all, no one wants to bite into corn that tastes like cardboard.
Below, I’ll break down the key visual cues—like kernel color, silk dryness, and the "milk stage"—to pinpoint exactly when to harvest, plus how regional weather and corn variety affect timing. No guesswork, just crisp, flavorful results.
Ready to go from seed to table with confidence? Let’s dive into the timeline and tricks that’ll have your corn tasting fresh off the cob.

90-Day corn growth timeline: from seed to harvest-ready stalk
Growing corn from seed is a rewarding journey that spans roughly 90 days from planting to harvest. Understanding each stage helps you anticipate needs and spot issues early.
The timeline below breaks down what to expect week by week, along with how temperature, sunlight, and soil moisture influence growth speed.
Corn development follows four key phases: germination (days 1-14), vegetative growth (weeks 2-6), reproductive stage (weeks 7-9), and maturation (weeks 10-12). Each phase demands specific care, from consistent watering during germination to proper pollination during silking. Let’s dive into the day-by-day progression.
| Stage | Key Milestones | Days After Planting | Environmental Needs |
|---|---|---|---|
| Germination | Seed sprouts, first leaves appear | 1-14 | Soil temp: 60-85°F, moist soil |
| Vegetative Growth | Leaves unfurl, stalk strengthens | 15-45 | Full sun, 1-2" water weekly |
| Tasseling | Male flowers (tassels) emerge | 46-55 | Warm temps (75-85°F), consistent water |
| Silking | Silks appear, pollination occurs | 56-65 | High humidity, avoid drought stress |
| Dough Stage | Kernels firm, milk-line visible | 66-80 | Reduce water slightly, full sun |
| Harvest | Silks dry, kernels dent | 81-90 | Cool mornings, dry weather |
During the first 14 days, your corn seeds need warm soil (60-85°F) to germinate. If temperatures drop below 55°F, germination slows dramatically. Use black plastic mulch or a seedling heat mat if your climate runs cool. Keep the soil consistently moist but not soggy—overwatering can cause rot.
The vegetative growth phase (weeks 2-6) is when corn plants focus on leaf and stalk development. This is the time to ensure they receive 6-8 hours of sunlight daily.
Without enough light, stalks grow weak and produce fewer ears. If your garden lacks full sun, consider using reflective mulch or nearby mirrors to boost light exposure.
Around day 46, you’ll spot the first tassels—the male flowers that release pollen. This marks the start of the reproductive stage. Tasseling requires warm temperatures (75-85°F) for optimal pollen production.
If nights dip below 60°F, pollen may not transfer efficiently to the silks, reducing ear development. Hand-pollinate if needed by gently brushing tassels over silks.
Silking (days 56-65) is critical for ear formation. The silks (female flowers) must be pollinated within 24 hours of emerging or the kernels won’t develop. Ensure your plants are well-watered but not waterlogged—drought stress during this phase leads to poor pollination.
Look for silks that turn brown and dry; this signals successful fertilization and ear growth.
By week 9, your corn enters the dough stage, where kernels firm up and the milk-line (white liquid) appears when you pierce them with a fingernail.
This is the last chance to adjust watering—reduce slightly to prevent ear rot but maintain soil moisture. Avoid fertilizing now, as excess nitrogen can delay maturity.
The final 10 days lead to harvest. Watch for silks turning brown and crispy and kernels denting at the tip. If you wait too long, kernels become tough and starchy.
Harvest in the morning when temperatures are coolest to preserve sweetness. Twist ears gently or cut stalks with pruners, leaving a few inches of stalk attached.
Pro tip: Keep a growth journal to track your corn’s progress. Note any deviations from the timeline—like delayed tasseling or slow silk emergence—and adjust care accordingly. With the right conditions, your 90-day journey will end with ears bursting with flavor! 🌽
How to determine the perfect corn harvest time by ear, sight, and touch
Harvesting corn at the right moment transforms your garden into a sweet, juicy treasure trove. But how do you know when those ears are ready? The secret lies in combining visual cues, physical tests, and even your sense of hearing.
Missing this window means tough, starchy kernels instead of the tender perfection you crave. Let me show you how to nail it every time.
First, let's tackle the most reliable visual indicators. The silks (those thread-like strands) should turn completely brown and crispy—no green or moisture left. At the same time, the husks at the base should feel tight and dry, not loose or damp.
These signs tell you the plant has finished pollination and is focusing on filling out the kernels.
🌽 5 Key Signs Your Corn Is Harvest-Ready
- 🟤 Silks turn brown and dry to touch
- 🔍 Kernels dent slightly when pressed with fingernail
- ✅ Milk-line disappears when pierced (no white liquid)
- 🌿 Husks pull back easily from the ear
- 🎵 Ears rattle when shaken gently
Now for the touch test—this is where many gardeners go wrong. Gently squeeze a kernel between your thumb and forefinger. If it feels firm but still slightly soft, it's perfect. Overripe corn will feel hard and dry, while underripe kernels will squish like overcooked pasta.
Pro tip: Pierce a kernel with your fingernail—if the milk-line (white liquid) disappears completely, it's time to harvest.
Don't overlook the ear test—this is where your sense of hearing comes in! Hold the ear and give it a gentle shake. If you hear a soft rattling sound, the kernels are plump and ready.
No sound? They need more time. This trick works especially well for sweet corn varieties, where kernel density matters most for that juicy texture.
Common mistakes can turn your harvest into a disappointment. Overripe corn becomes tough and starchy, while underripe ears stay watery and bland. Watch for these red flags: silks still green, kernels dent deeply when pressed, or husks that resist pulling back.
If you're in doubt, harvest a few ears early—you can always cook them the same day to preserve sweetness.
For regional variations, remember that cooler climates may need 10-14 extra days to maturity. Southern gardeners can often harvest earlier, but always check your seed packet for days to maturity guidelines.
And if you're growing multiple corn varieties, mark your plants and harvest them separately—they won't all ripen at once!
Once you master these techniques, you'll consistently harvest corn at its peak. The reward? Sweet, tender kernels that taste like summer in every bite. Happy harvesting—your garden (and taste buds) will thank you! 🌽