
How To
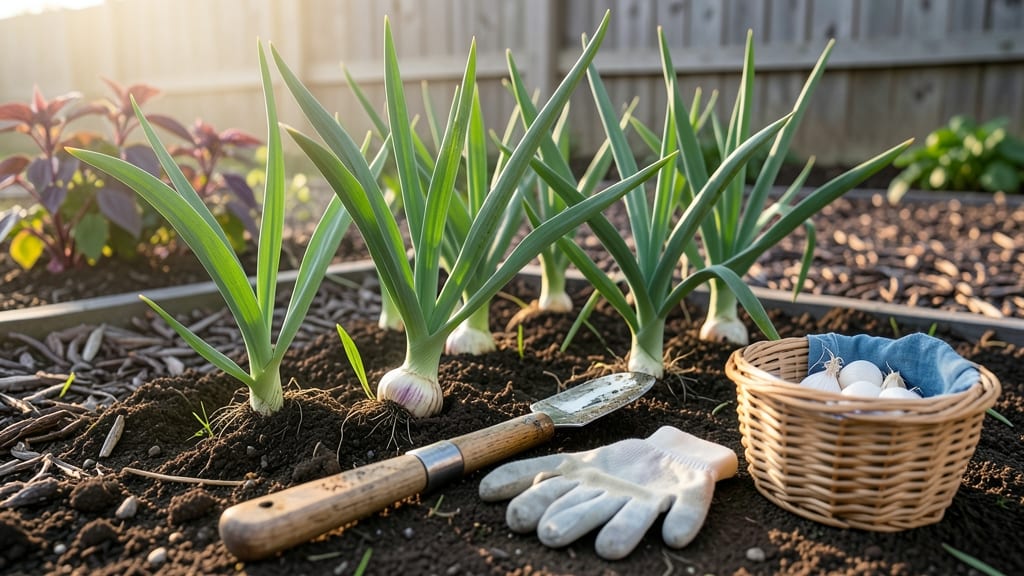
Harvesting softneck garlic at the right time is the key to storing it all winter — dig too soon, and you ruin the bulbs; wait too long, and they split or rot.
Struggling to decide when your 🧄 is ready? The answer lies in the leaves: when about half are brown and crispy but the top ones stay green, that’s your cue. Miss this window, and you’ll end up with garlic that either won’t store or tastes bland.
Most gardeners in zone 6a harvest between July and August, but the real test is the bulb itself. Gently squeeze it — if it feels firm and the skins are papery, it’s time. If it’s still soft or the leaves are fully green, hold off for another week.
Below, I break down the exact steps to check readiness, how to harvest without damaging the bulbs, and the best way to cure them for long-term storage — so you’ll never waste another harvest again.
5 Key signs your softneck garlic is ready for harvest (no experience needed)
Harvesting softneck garlic at the perfect moment ensures maximum flavor, storage life, and bulb size. The challenge? Many gardeners struggle to distinguish between "ready" and "overripe" without clear visual cues. Unlike hardneck varieties, softneck garlic matures later and relies on subtle leaf browning and bulb firmness as key indicators.
If you've been watching your garlic plants all season, here's how to tell when they're finally ready for harvest.
First, understand that softneck garlic takes 240-300 days to mature, depending on your USDA zone and planting time. In Zone 6a (like much of the Midwest), this typically falls between mid-July and early August. However, timing isn't just about the calendar—it's about what you see in your garden.
The lower leaves will start browning first, while the upper leaves remain green and healthy. This contrast is your first major clue.
Visual cues are the easiest way to gauge readiness. Pay attention to the leaf color, stem condition, and even the soil surface around your plants. These signs work together like a checklist, ensuring you harvest at the ideal moment. For beginners, I recommend checking these indicators every 5-7 days once you notice the first signs of browning.
🌱 5 Key Signs Your Softneck Garlic Is Ready for Harvest
-
1. Lower Leaves Turn Brown and Crispy
The bottom 1/3 of leaves will yellow first, then dry to a straw-like brown. Gently tug a leaf—if it snaps easily, it's ready. -
2. Bulbs Feel Firm When Squeezed
Dig up a test bulb. If it feels solid and dense (like a small rock), it’s harvest-ready. Soft or spongy bulbs need more time. -
3. Papery Skins Form Around Cloves
Peel back the outer dry husk. If you see thin, white papery layers between cloves, harvest now to prevent cracking. -
4. Stems Flatten and Dry Out
The central stem (called the "bolt") will flatten and harden. It should feel dry to the touch, not green or flexible. -
5. Soil Surface Shows Bulb Shadows
Gently brush away topsoil—if you can see the outline of bulbs just below the surface, they’re ready to dig.
🌿 Pro Tip: Harvest on a dry, sunny day (60°F+). This prevents rot during curing.
Don’t wait until all leaves turn brown—that’s a sign your garlic is overripe. Over-mature bulbs split open, lose flavor, and store poorly. The goal is to harvest when about 50% of the leaves are brown and crispy, while the top leaves remain green.
This balance ensures the best flavor and storage life.
Regional timing matters too. In warmer climates (Zones 7-10), softneck garlic may mature earlier (late June to July), while cooler zones (Zones 3-5) might need to wait until August.
Always adjust based on your local last frost date. For example, if you planted in October, aim to harvest 270 days later, give or take a week.
Another trick is to dig a test bulb a week before you think it’s ready. This lets you check the bulb size and skin development without risking your entire crop. If the test bulb meets the firmness and papery skin criteria, your garlic is ready.
If not, wait another week and test again. This method works especially well for first-time growers who want to avoid guesswork.
Pay close attention to the soil conditions too. If the ground feels dry and crumbly (about 2-3 inches deep), it’s ideal for digging. Wet soil can damage bulbs and encourage fungal diseases during curing.
If rain is forecast, harvest a few days early to give your garlic time to dry properly. A well-draining soil also helps—if your garden retains too much moisture, consider harvesting slightly earlier than the ideal signs suggest.
Once you’ve confirmed all five signs, it’s time to harvest! Use a garden fork to loosen the soil around the plant, then gently lift the bulb. Shake off excess dirt, but don’t wash it—moisture speeds up spoilage.
Let the bulbs air-dry in a shady, well-ventilated spot for 2-3 weeks before storing. This curing process is critical for long-term storage and preventing rot.
Remember, softneck garlic stores longer than hardneck varieties, but only if harvested at the right time. By mastering these five key signs, you’ll enjoy plump, flavorful bulbs that keep well through the winter—no experience required! With practice, you’ll develop an instinct for the perfect harvest moment.
Step-by-step harvesting process for maximum garlic storage life
Once your softneck garlic shows those telltale signs of readiness, proper harvesting becomes the next critical step. A rushed or sloppy harvest can invite mold, rot, or premature spoilage—cutting your storage life from months to mere weeks.
The key lies in timing your harvest with ideal weather conditions and following precise handling techniques.
Perfect harvest timing typically falls in late June to early August in most U.S. growing zones (USDA 4-9), but always prioritize plant signals over calendar dates. You’ll want 5-7 dry days ahead of your harvest to ensure proper curing.
If rain is forecasted, delay your harvest by a week to avoid damp bulbs that spoil quickly.
After harvesting, never wash your garlic—moisture is the enemy of long-term storage. Instead, let the bulbs air-dry completely before handling. Place them in a single layer on a mesh rack or hang them in small braids to maximize airflow.
This drying process, called curing, can take 2-4 weeks, depending on humidity levels.
Once fully cured, your softneck garlic should have a firm, dry feel with tightly wrapped cloves. Trim the roots and stems as described above, then store in a well-ventilated container like a mesh bag or paper sack. Avoid plastic bags, which trap moisture and accelerate spoilage.
With proper curing and storage, your softneck garlic can last 6-12 months—far longer than store-bought varieties. Check stored bulbs monthly for any signs of sprouting or soft spots, and remove affected cloves immediately to prevent spread.
A little extra care at harvest time ensures you’ll have homegrown garlic ready year-round!
🌱