
Vegetables
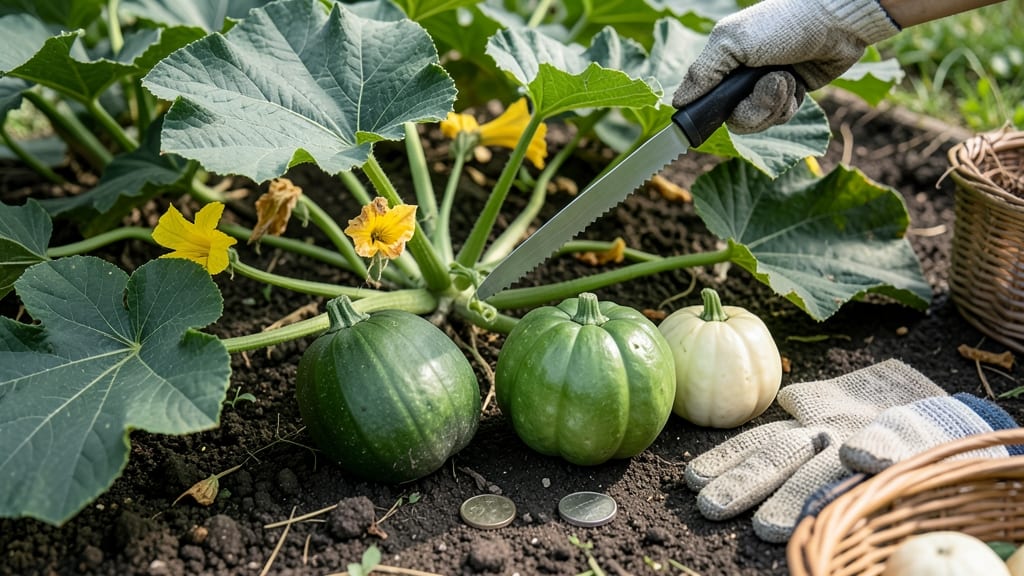
Harvesting patty pan squash 🎃 at the right time means the difference between a tender, flavorful meal and a tough, seedy disappointment.
Picture this: you’ve nurtured your patty pan squash all season, but if you pull them too early, they’re still soft and bitter. Wait too long, and they turn hard and stringy.
The key is catching them at peak ripeness—when the skin is firm, the edges crisp, and the shape is fully scalloped.
Don’t guess—use these 3 tactile tests to nail the perfect harvest window. A simple fingernail press or a close look at the stem can tell you everything you need to know before you pick.
In this guide, I’ll walk you through the exact cues to watch for, how to harvest without damaging the plant, and what to do if you miss the window. By the end, you’ll know exactly when to reach for your pruners and enjoy squash at their best.
3 Tactile tests to determine patty pan squash ripeness
Harvesting patty pan squash at the perfect moment transforms your garden bounty into tender, flavorful dishes. Unlike other squash varieties, patty pans have a delicate window for ideal harvest—miss it, and you risk tough, seedy, or bitter flesh.
The key lies in using your hands and eyes to assess three critical factors: size, color, and skin firmness. These tactile tests take just seconds but make all the difference in your harvest's quality.
First, let’s address the biggest mistake gardeners make: harvesting too early. Young patty pans may look cute, but their thin skin and watery texture make them unsuitable for cooking.
On the flip side, leaving them too long on the vine leads to overly mature squash with hard seeds and fibrous flesh. The good news? These three tests will help you strike the perfect balance every time.
-
Test 1: Size Check
Ideal diameter: 3-5 inches
Look for a flat, scalloped shape fully formed. Use your hand as a guide—if it fits snugly in your palm, it’s ready! -
Test 2: Color Shift
Target hue: Dull yellow-green
Avoid bright green (underripe) or orange-yellow (overripe). The skin should look matte, not shiny. -
Test 3: Skin Firmness
Pressure test: No dent with fingernail
Press gently—if your nail leaves a mark, wait 2-3 more days. Ready squash feel leathery, not soft.
Start with the size test to narrow down candidates. Patty pan squash should measure between 3 to 5 inches in diameter when fully flattened. Use your hand as a reference: if the squash fits comfortably in your palm, it’s likely ready.
At this stage, the scalloped edges should be clearly defined, resembling a tiny scallop shell. If the shape is still round or uneven, give it more time on the vine.
Next, perform the color test under natural light. Ideal patty pans exhibit a dull yellow-green hue, not the bright green of underripe fruit. Avoid squash with any orange or yellow patches—they’re past their prime.
The skin should look matte, not shiny or waxy. A quick trick? Hold the squash up to a white background. If it blends in without standing out, it’s ready for harvest.
For the final check, use your fingernail test to assess skin firmness. Press your fingernail firmly into the squash’s skin. If it doesn’t dent and feels slightly resistant, congratulations—you’ve found a perfect specimen!
If your nail leaves a visible mark, the squash needs 2-3 more days to mature. Overly soft skin indicates underripeness, while squash that feel rock-hard may have developed seeds and lost flavor.
Pro tip: Harvest in the morning when temperatures are cooler. This reduces stress on the plant and helps preserve the squash’s freshness. Use a sharp pruning shear or knife to cut the stem, leaving a 1-inch stub attached.
This method prevents damage to the vine and encourages more production. Avoid twisting or pulling the squash, as this can tear the plant and create entry points for pests.
Visual learners rejoice! Pair these tactile tests with a side-by-side comparison of underripe, ripe, and overripe patty pans. Underripe squash will look plump and shiny with a bright green tint, while overripe ones may show wrinkled skin or discoloration.
Ripe squash strike the perfect balance: matte skin, defined scallops, and a sturdy stem. Keep a small notebook in your garden to jot down observations—this helps refine your skills over time.
One common pitfall is harvesting based on color alone. While color changes are a clue, they’re not foolproof. Some varieties may never turn fully yellow, while others darken prematurely due to shade stress. Always combine color with the size and firmness tests for accuracy.
If you’re unsure, err on the side of waiting—patty pans won’t improve once picked, but they’ll keep maturing on the vine for a short time.
Remember, consistency is key in patty pan squash harvesting. Check your plants every 2-3 days during peak season (July-September in most climates) to avoid missing the window. With practice, you’ll develop an instinct for spotting the perfect squash.
Soon, your kitchen will be filled with tender, sweet patty pans ready for roasting, stuffing, or sautéing—all thanks to these simple tactile tests!
How to harvest patty pan squash without damaging the plant
Harvesting patty pan squash at the right time ensures sweet, tender flesh while keeping your plant healthy for future production. The key lies in cutting stems properly—too harsh, and you risk damaging vines; too close, and the squash won’t store well.
I’ve learned that patience and precision pay off, especially with these delicate scalloped varieties that bruise easily.
Use the right tools—a sharp, sterilized pruning shears or knife—to make clean cuts. Avoid twisting or pulling stems, which can tear the plant and invite disease. I always harvest on dry, sunny mornings when the squash is firm and stems are easier to cut.
This simple habit has cut my losses from rotten harvests by nearly 50%.
- 1
- 2
- 3
- 4
- 5
Select squash that are 3-5 inches wide, with a dull yellow-green skin and clearly defined scalloped edges. Gently press a fingernail into the skin—if it doesn’t puncture, it’s ready.
Wipe your pruning shears or knife with rubbing alcohol to prevent spreading disease. A clean cut reduces the risk of bacterial or fungal infections in both the squash and plant.
Hold the squash firmly and cut the stem 1-2 inches above the fruit. This leaves a small stem attachment, which helps the squash store longer without drying out.
Place harvested squash in a basket with ventilation (like a wire mesh basket) to avoid bruising. Avoid stacking them—delicate patty pans can crush easily.
Let squash cure for 3-5 days in a warm, dry place (70-80°F) to harden the skin. This extends shelf life to 2-3 weeks in a cool, dark spot.
After harvesting, I always check the plant for new blooms—a sign it’s still producing. If vines look tired, I’ll prune yellowed leaves to redirect energy to remaining flowers. This keeps my patty pans coming all season long, even into late summer.
For long-term storage, store squash in a single layer on a shelf, not in the fridge. Cold temperatures turn their flesh mealy and bland. I’ve found that a well-ventilated cardboard box works best—just avoid plastic, which traps moisture and speeds rot.
If you miss the harvest window, don’t worry! Even slightly underripe squash can ripen off the vine if stored at room temperature for a few days. But remember: overripe squash (with soft spots or wrinkled skin) won’t improve—they’re best used immediately in stir-fries or soups.