
Planting
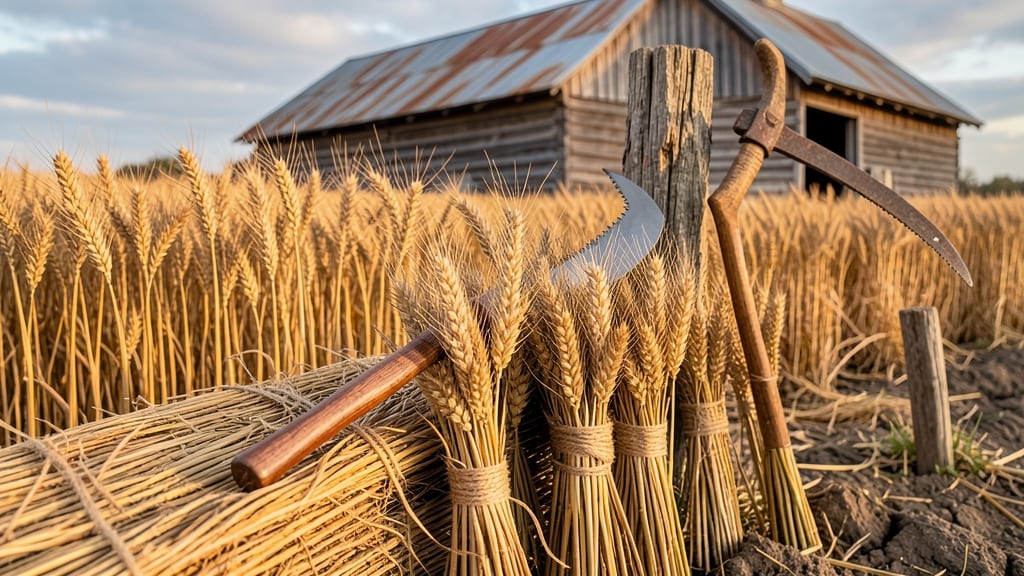
Harvesting wheat at the right time during the wheat harvest season determines whether you end up with flour or feed — and the difference is all in the details.
You’ve spent months nurturing your 🌾 wheat, watching it grow from tender shoots to towering stalks, only to face a critical choice: harvest too early, and the grains won’t mature; wait too long, and you risk losing yield to weather or pests.
The clock is ticking, and missing the window means wasted effort.
This guide breaks down the exact signals to watch for — from golden heads to kernel firmness — and how climate, variety, and even your location in USDA Zone 6a shift the ideal timing.
We’ll also cover how to handle the crop once it’s cut, so your hard work doesn’t spoil in storage.
Whether you’re a small-scale grower or just curious about the process, you’ll learn how to recognize peak ripeness, avoid common mistakes, and store your harvest for months (or even years) to come.
When does wheat harvest season begin? Climate zones and ripeness signs
Timing your wheat harvest correctly depends on two critical factors: your USDA hardiness zone and the visual ripeness signs your plants display. In cooler zones like 3-5, harvest typically starts in late July, while warmer zones 7-9 may see harvests as early as June—but don't rush!
These timelines can shift dramatically with drought stress or unexpected rainfall, which we'll explore further.
For small-scale growers, understanding these harvest windows is especially important because delayed cutting can lead to premature shattering (where grains fall before harvest), while harvesting too early means lower yield and poor storage quality.
Commercial farmers, on the other hand, often rely on weather forecasts and grain moisture levels to schedule large-scale operations efficiently.
Here’s the key rule: Wheat is ready when 70-75% of the heads turn fully golden-brown, the kernels rattle when shaken, and the lower leaves have dried out. But these signs can vary by variety—hard red wheat, for example, matures slightly earlier than soft white wheat.
| USDA Zone | Typical Harvest Window | Key Ripeness Signs | Drought Impact | Rain Impact |
|---|---|---|---|---|
| Zones 3-5 | Late July - Early August | Heads fully golden, kernels firm | Accelerates maturity (harvest earlier) | Delays maturity (risk of shattering) |
| Zones 6-7 | Mid-July - Late July | Lower leaves crispy, stems brittle | Reduces yield but speeds ripening | Increases fungal risk (harvest ASAP) |
| Zones 8-9 | June - Early July | Kernels rattle, heads dry at tips | Early harvest needed to avoid loss | May cause sprouting in heads |
If you're growing winter wheat, pay extra attention to vernalization—the process where cold temperatures trigger heading. In Zone 6, for example, winter wheat planted in fall may head as early as May, while spring-planted wheat in the same zone won’t mature until July.
This timing difference is why record-keeping is crucial for repeat growers.
One of the most common mistakes I see is over-relying on color alone. Yes, golden-brown heads are a hallmark of ripeness, but you must also press a kernel—it should feel firm but slightly soft, like a ripe peach.
If it crushes easily, your wheat needs more time; if it’s rock-hard, you’ve waited too long and risk reduced milling quality.
Drought conditions can throw off your harvest timeline dramatically. Wheat under water stress may mature 2-3 weeks early, but the grains will be smaller and lighter. On the flip side, excessive rainfall near harvest can cause pre-harvest sprouting (where grains germinate in the head) or fungal infections like fusarium head blight, which ruins grain quality for baking or milling.
For small-scale growers, I recommend harvesting in small batches over 5-7 days to account for uneven maturity within a field. Use a scythe or sickle for tight spaces, and always cut just above the grain head to avoid damaging the stems.
Commercial operations, meanwhile, often use combine harvesters with grain moisture sensors to optimize yield while maintaining 12-14% moisture content for storage.
Pro tip: Test your wheat’s moisture using a grain moisture meter or even a paper bag trick—fill a bag with a handful of grain and shake it. If the bag feels damp, your wheat isn’t dry enough.
Aim for below 14% moisture to prevent mold growth during storage. In humid climates, you may need to dry wheat artificially with a grain dryer or by spreading it in thin layers under a carport.
Finally, keep an eye on the weather forecast in the 7-10 days leading up to harvest. If rain is predicted, prioritize harvesting mature rows first. If dry conditions persist, monitor for lodging (fallen plants) and harvest those areas immediately to avoid grain loss.
With these strategies, you’ll maximize your wheat yield while ensuring the grain stays fresh and storable.
Step-by-step wheat harvesting process for maximum yield
Harvesting wheat at the right time and using the proper techniques ensures you get the highest yield and best grain quality. Whether you're using a scythe for small plots or a combine harvester for larger fields, timing and method matter.
Start by cutting when the grain heads turn golden-brown and the kernels feel firm but slightly soft when pressed—this is your peak ripeness window.
Before you begin, clear the field of debris to avoid contamination during harvest. If using a scythe or sickle, work in dry conditions to prevent lodging and make cutting easier. For larger areas, a grain header attachment on a tractor speeds up the process while maintaining efficiency.
Remember, the optimal cutting height is just above the ground to avoid losing grain in the stubble.
🌾 Step-by-Step Wheat Harvesting Guide
- 1 Check ripeness: Confirm golden-brown heads and firm kernels by pressing a few grains.
- 2 Choose your harvest method: Scythe for small plots, header for larger fields, or hand cutting for homesteads.
- 3 Cut at optimal height: Leave 2-3 inches of stubble to prevent soil loss and retain moisture.
- 4 Select drying method: Swathing (laying cut wheat in rows to dry) or direct combining (if grain moisture is below 14%).
- 5 Thresh the wheat: Use a flail harvester or manual threshing to separate grains from chaff. Aim for 98% grain recovery.
- 6 Clean and store: Remove chaff and debris with a sieve or fan. Store grain in dry, ventilated containers at below 10% moisture.
After harvesting, drying the wheat properly is critical to prevent spoilage. If you choose swathing, spread the cut wheat in rows and turn it every 2-3 days until fully dry.
For direct combining, ensure grain moisture is below 14% to avoid mold. Once dry, thresh the wheat using a flail harvester or manual methods to separate grains from chaff.
Post-harvest handling requires attention to moisture levels and storage conditions. Clean the grain thoroughly to remove chaff and debris, then store it in airtight, ventilated containers in a cool, dry place.
Check for pests or mold regularly, and avoid storing wheat in humid areas to maintain its quality for months.
For beginners, start small with a handheld scythe or sickle to practice cutting and drying techniques. Keep a harvest journal to track ripeness signs, weather conditions, and yield results. With experience, you’ll refine your timing and methods for consistent maximum yield every season.