
How To
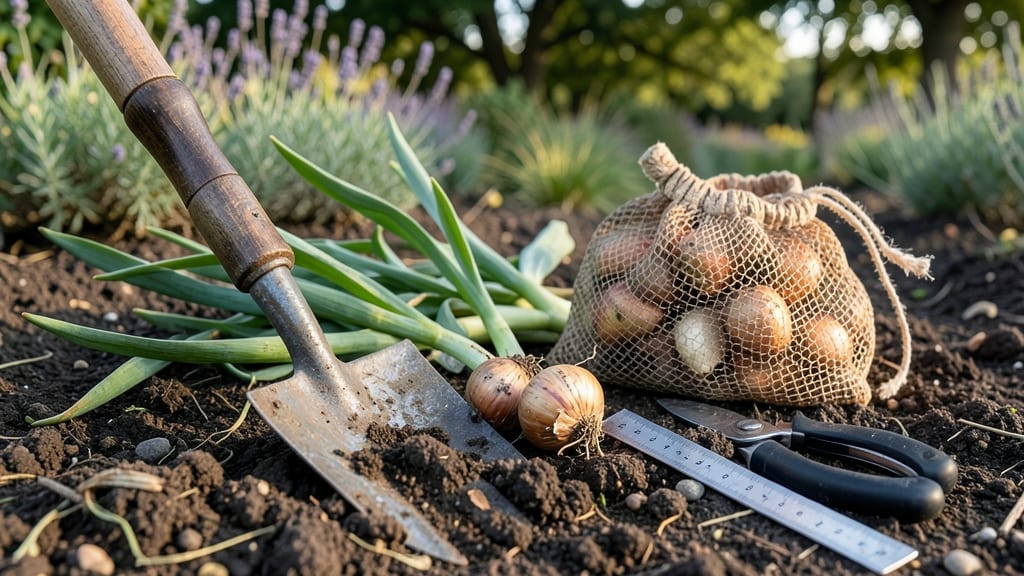
Harvesting tulip bulbs after the foliage dies back is the key to storing them perfectly for next year’s stunning blooms.
Picture this: you’ve spent months admiring your 🌷 tulips, and now the leaves are crispy and brown—but digging too soon ruins the bulb’s energy reserves. The right timing and gentle handling make all the difference between bulbs that thrive and ones that rot in storage.
In this guide, you’ll learn exactly when to harvest (spoiler: it’s not right after the flowers fade), the tools you’ll need, and how to cure and store them for maximum replanting success. No more wasted bulbs or weak regrowth!
From checking for yellowed leaves to avoiding common mistakes, I’ll walk you through every step so your tulips come back even stronger next spring.
When and how to harvest tulip bulbs for maximum storage success
Harvesting tulip bulbs at the perfect moment ensures they store well and produce vibrant blooms next season. The key is patience—waiting until 6-8 weeks after flowering when foliage naturally yellows and dies back.
Harvesting too early weakens bulbs, while waiting too long risks rot or pest damage. Understanding these visual cues and timing is crucial for long-term bulb health.
Tulips need their foliage to photosynthesize for 6-8 weeks post-bloom to replenish energy stores in the bulb. If you cut back foliage too soon, you starve the bulb of nutrients it needs for next year’s flowers.
Look for completely yellow, crispy leaves and no new growth—this signals the bulb is ready for harvest. Ignoring these signs often leads to smaller, weaker blooms or bulb failure entirely.
Before digging, gather your tools: a garden fork, pruning shears, gloves, and a bucket for sorting. Work on a dry, sunny day to speed drying and prevent soil-borne diseases.
Avoid harvesting after rain, as wet soil makes bulbs more prone to rot. Timing your harvest correctly sets the stage for a smooth, damage-free extraction process.
Step-by-Step Guide to Harvesting Tulip Bulbs
-
Step 1: Wait for Full Foliage Die-Back
Harvest only when 90% of leaves are yellow, brown, and crispy. No green growth should remain above soil. -
Step 2: Loosen Soil Gently
Use a garden fork to lift soil around bulbs in a star-shaped pattern, 6-8 inches deep. Avoid piercing bulbs. -
Step 3: Extract Bulbs Carefully
Grip the base of the stem and lift bulbs from the soil. Shake off excess dirt, but don’t wash them. -
Step 4: Trim Foliage and Roots
Cut stems to 2 inches above the bulb and trim roots to 3 inches long using pruning shears. -
Step 5: Cure Bulbs in Sunlight
Spread bulbs in a shady, dry location (like a garage or porch) for 1-2 weeks to harden their skins. -
Step 6: Store in Ideal Conditions
Place bulbs in mesh bags or paper sacks and store in a cool (40-50°F), dry place with good airflow.
✅ Pro Tip: Label bulbs by variety if storing multiple types to ensure proper replanting next season.
One common mistake is harvesting bulbs too early, often after the flowers fade but before foliage dies back. This robs the bulb of essential nutrients it needs to thrive.
Another error is washing bulbs immediately after digging, which can introduce moisture and promote rot. Instead, let them air-dry for 1-2 weeks in a well-ventilated area before storage.
After curing, inspect bulbs for soft spots, mold, or pest damage. Discard any bulbs that feel mushy or show signs of decay, as these won’t store well. Healthy bulbs should feel firm and papery to the touch.
Store them in mesh bags or open containers to prevent condensation buildup, which can lead to rot during dormancy.
For optimal storage, maintain a consistent temperature between 40-50°F and low humidity. A basement, garage, or even a refrigerator’s crisper drawer works well. Avoid plastic bags, as they trap moisture and accelerate bulb deterioration. Check bulbs monthly for signs of spoilage and remove any affected ones immediately.
When replanting in fall (September-November), choose a location with well-draining soil and full sun. Plant bulbs 6-8 inches deep, with the pointy end up, and space them 4-6 inches apart. Water deeply after planting to encourage root growth before winter sets in.
With proper harvesting and storage, your tulip bulbs can last 3-5 years or longer, producing stunning blooms each spring. The key lies in patience, precision, and paying attention to the natural die-back process.
By following these steps, you’ll ensure your bulbs stay healthy and ready for their next glorious display.
Essential tools and preparation for tulip bulb harvesting
Harvesting tulip bulbs requires the right tools and preparation to avoid damage and ensure healthy storage. The wrong approach can leave bulbs bruised, diseased, or unable to regrow.
Start by gathering your essential tools—a bulb fork or sturdy garden fork, thick gardening gloves, and pruning shears for trimming foliage. These tools help protect both your hands and the bulbs from cuts or bruising.
Before digging, check your soil conditions. Tulip bulbs thrive in well-draining soil, so avoid harvesting after heavy rain, which can make the soil too wet and difficult to work with.
Aim for a dry, sunny day when the ground is slightly firm but not rock-hard. This ensures you can extract bulbs cleanly without tearing their papery skins.
Use a bulb fork or garden fork to gently lift bulbs without piercing them. Insert the fork 3-4 inches away from the bulb and lift carefully to avoid damaging the neck or roots.
Wear thick gloves to protect your hands from sharp bulb edges and soil debris. Look for gloves with reinforced palms for extra durability during digging.
Trim the foliage to 2 inches above the bulb using clean pruning shears. This reduces moisture loss and prevents disease during storage.
Water the tulip bed lightly 24 hours before harvesting to soften the soil slightly. Avoid overwatering, which can lead to soft, mushy bulbs that bruise easily.
If your tulips are tall or top-heavy, install stakes or cages before flowering to prevent foliage from flopping over. This ensures the bulb’s energy stays focused on root and bulb development rather than supporting weak stems.
After harvesting, let the bulbs cure in a dry, shaded area for 1-2 weeks before storing. This process hardens their skins and reduces the risk of rot during storage. Place them in a well-ventilated spot like a garage or shed, away from direct sunlight or extreme temperatures.
Finally, inspect each bulb for damage or disease before storing. Discard any bulbs that feel soft, smell foul, or show signs of mold. Healthy bulbs should feel firm and dry to the touch, ready for their cool, dark storage until planting season.
With the right tools and preparation, your tulip bulbs will store beautifully and return to bloom even more vibrantly next spring. Happy digging! 🌱