
How To
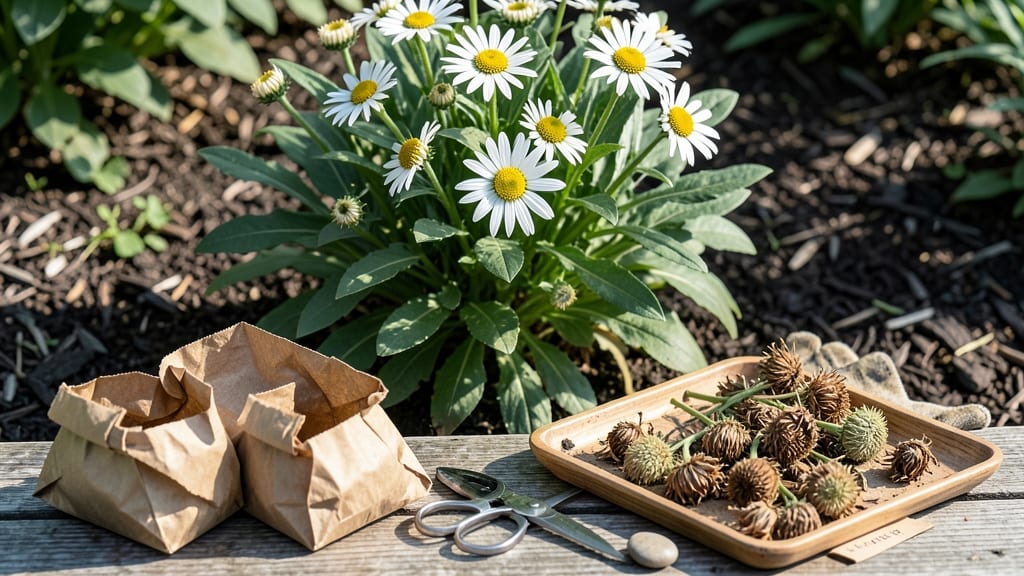
Harvesting Shasta daisy seeds is the easiest way to grow these cheerful blooms for free next year—just wait for the right moment, and you’ll have a stash of fluffy, fertile seeds ready to plant.
Watching your Shasta daisies transform from vibrant blooms to fluffy seed heads isn’t just nature’s magic—it’s your golden opportunity to propagate these stunning flowers for free next season.
You’ll know the seeds are ready when the flower heads turn a deep brown, the petals fall away, and the center feels dry and papery. This usually happens in late summer or early fall, depending on your climate.
In this guide, I’ll walk you through when to harvest, how to collect and dry the seeds properly, and even how to test their viability before planting. No more buying seeds—just multiply your garden’s beauty for years to come!
When and how to identify mature Shasta daisy seed heads for harvesting
Watching your Shasta daisies transition from bright white blooms to fluffy brown seed heads marks the perfect time to collect seeds for next year’s garden. Knowing exactly when to harvest ensures you capture viable seeds that will germinate successfully.
The key is recognizing the right maturity stage—when the seed heads are fully dry but haven’t yet released their seeds to the wind.
Timing is everything with Shasta daisy seed harvesting. Most gardeners in USDA Zone 6a (where these daisies thrive) should harvest between late August and early September, just as the first fall frosts approach.
This window ensures seeds have fully matured but haven’t been exposed to prolonged moisture or cold, which can reduce viability.
| Stage | Visual Cues | Action |
|---|---|---|
| Early Bloom | Bright white petals, green centers | Do nothing |
| Petal Drop | Petals fall naturally, center turns yellow-brown | Monitor for drying |
| Mature Seed Head | Completely brown, crispy texture, seeds rattle | Harvest immediately |
| Overripe | Seed heads split open, seeds scatter | Too late—collect fallen seeds if possible |
Look for brown, papery seed heads that feel dry to the touch. A gentle shake should make the seeds inside rattle—this confirms they’re ready for harvest. The petals should have completely fallen off, leaving only the dry, brown center.
If you see any remaining green or moist areas, wait a few more days before harvesting.
Environmental factors like humidity and rainfall can delay maturity. In damp climates, seed heads may stay green longer, while hot, dry summers accelerate the drying process.
If you’re unsure, cut a few seed heads and place them in a paper bag for 1-2 days—if they’re fully dry, it’s time to harvest the rest.
Avoid harvesting seed heads that are still green or pliable, as these seeds won’t germinate. Premature harvesting is a common mistake that leads to low viability rates. Always prioritize seed heads that are completely brown and brittle, as these hold the highest chance of successful propagation.
Pro tip: Harvest on a dry, sunny morning to ensure seed heads are fully dry. Cut the stems about 2-3 inches below the seed head using clean pruners. This prevents moisture from the stem from affecting the seeds during drying.
Once harvested, place the seed heads in a well-ventilated area away from direct sunlight to finish drying. This step is crucial for preventing mold and ensuring the seeds remain viable until planting season.
With the right timing and care, you’ll have a stash of Shasta daisy seeds ready to grow into next year’s garden beauties.
Don’t let the seed heads linger on the plant too long—once they split open, the seeds will scatter, and your harvest window closes. By mastering these visual cues and seasonal timing, you’ll become a pro at harvesting Shasta daisy seeds for years of free, homegrown blooms.
Step-by-step process for harvesting, drying, and storing Shasta daisy seeds
Once your Shasta daisy seed heads turn brown and papery, it’s time to harvest. The key is patience—premature harvesting leads to seeds that won’t germinate. I’ve found the best time is when the center feels dry and the seeds rattle inside the head when shaken gently.
Grab your pruning shears and let’s get started!
Harvesting too early is the most common mistake. If you pick seed heads that are still green or damp, the seeds inside won’t be viable. Always wait until the entire flower head is completely dry and brown, with no moisture left.
This usually happens in late summer or early fall, depending on your climate.
- Step 1 Cut the seed heads using clean pruning shears. Snip the stems about 2-3 inches below the dried flower head to include the stalk. Avoid crushing the seed heads—handle them gently to prevent seed loss.
- Step 2 Remove excess debris by gently shaking the seed heads over a clean paper bag or newspaper. Discard any damaged or discolored seed heads—they won’t produce viable seeds. This step ensures you’re only working with the best seeds for next season.
- Step 3 Choose a drying method: Hang seed heads upside down in a well-ventilated area (like a garage or shed) for 1-2 weeks, or place them in paper bags with a drying agent (like silica gel or uncooked rice). I prefer hanging because it mimics natural conditions and prevents mold.
- Step 4 Test for dryness by opening a seed head. If the seeds inside are light and crispy, they’re ready for storage. If they still feel damp, let them dry for another week. Overly moist seeds can develop mold, so don’t rush this step.
- Step 5 Store seeds in airtight containers like glass jars or envelopes with a desiccant packet to absorb moisture. Label each container with the harvest date and variety name. Store them in a cool, dark place, like a pantry or refrigerator, where they’ll stay viable for 2-3 years.
After drying, I like to shake out the seeds from the flower heads into a bowl and sift through them to remove any remaining debris. This ensures only the cleanest seeds go into storage.
Store them in paper envelopes if you plan to plant them soon, or in airtight containers for long-term storage.
Avoid storing seeds in plastic bags or containers without desiccants—they trap moisture and cause mold. I’ve learned this the hard way! Always double-check that your storage area is cool and dry to keep seeds viable for as long as possible.
With these steps, you’ll have a ready-to-plant stash of Shasta daisy seeds for next season. Share them with friends or replant them in your garden—either way, you’re saving money and multiplying your garden’s beauty naturally! 🌼