
How To
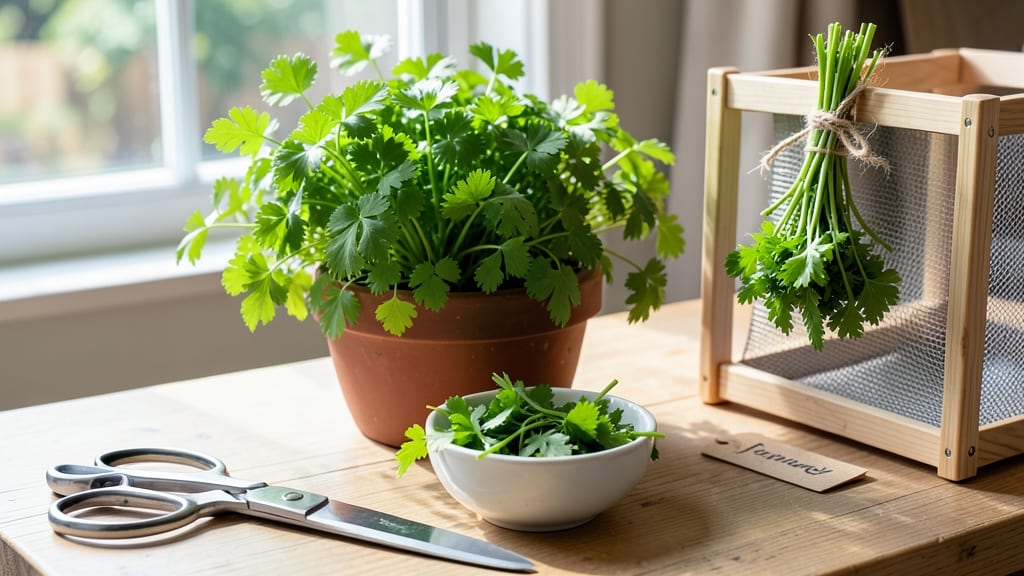
To harvest parsley and dry it properly, you’ll need to time your cuts just right—before the plant flowers but after the leaves reach their peak flavor 🌿.
Drying parsley at home isn’t just about saving money—it’s about preserving that vibrant flavor for soups, sauces, and seasonings all year long, without the grocery store’s wilted leftovers. One wrong move, and you could end up with brittle, flavorless stems instead of aromatic herbs.
Whether you’re air-drying bundles, using a dehydrator, or slow-roasting in the oven, the key is starting with fresh, healthy stems and handling them gently to lock in those bright notes.
Below, I’ll walk you through the best methods for drying parsley, plus tips to store it so it stays potent for up to 12 months.
You’ll discover how to cut parsley for maximum regrowth, avoid common drying pitfalls, and even troubleshoot issues like mold or uneven drying. By the end, you’ll have a pantry stocked with homegrown parsley that tastes better than anything you’ve bought.
When and how to harvest parsley for drying: step-by-step guide
Harvesting parsley at the right time is everything when it comes to drying.
If you wait too long, the flavor fades and the leaves turn bitter—especially once the plant starts flowering. Timing is key: aim to harvest your parsley before flowering begins, typically 60-90 days after planting when leaves reach 4-6 inches tall and are dark green and glossy.
This ensures maximum flavor retention and prevents woody stems that ruin drying quality.
I’ve found that harvesting parsley in the morning after dew dries gives the best results. The leaves are crisp, and the stems are firm, making them easier to handle.
Avoid harvesting after rain or late in the day when humidity is high—this can lead to mold during drying. Morning harvests also help preserve those essential oils that give parsley its signature taste.
Before diving into the harvest, gather your tools: a sharp pair of pruning shears or clean kitchen scissors, a large bowl or basket, and a clean towel or paper towels. Never use dull tools—they crush stems and invite disease.
I like to sanitize my shears with rubbing alcohol between harvests to keep my plants healthy. Wear gloves if your hands are sensitive to sap or if you’re harvesting near pests.
Choose Mature Leaves
Select stems with 6-8 mature leaves that are dark green and glossy. Avoid yellowing or wilted leaves.
Cut Stems Properly
Use clean shears to cut stems at a 45-degree angle, leaving 2-3 inches of growth above the soil. This encourages regrowth.
Rinse Gently
Hold stems in a bunch and rinse under cool water to remove dirt. Pat dry immediately with a clean towel to prevent mold.
Bundle for Drying
Gather 5-10 stems and secure with a rubber band near the cut ends. Hang bundles upside down in a dry, dark, well-ventilated spot.
Monitor Progress
Check bundles every 2-3 days. Parsley is fully dry when leaves crisp easily and stems are brittle (usually 1-2 weeks).
Once you’ve harvested your parsley, the next critical step is proper drying. I recommend hanging bundles in a dark, dry place with good airflow, like a pantry or basement. Avoid direct sunlight or heat sources—these can bleach the color and destroy essential oils.
A dehydrator or oven can speed up drying, but I’ve found air-drying preserves the most flavor. If you choose to use heat, keep temperatures below 95°F (35°C) to prevent burning.
After drying, store your parsley in airtight containers like glass jars or resealable bags. Label them with the harvest date—properly stored parsley keeps its flavor for up to 1 year. I like to crush the dried leaves slightly before storing to release more aroma.
This makes them easier to measure and infuse into dishes later. Keep containers in a cool, dark place to maintain potency.
If you notice any mold or discoloration during drying, remove those bundles immediately. Mold is a red flag that humidity was too high. To prevent this, harvest in the morning, pat dry thoroughly, and ensure your drying area is well-ventilated.
A small fan can help circulate air if your space is stuffy. Never store parsley in the fridge—the moisture can cause condensation and spoilage.
For maximum yield, I harvest parsley in two waves: once when leaves are young and again when they’re fully mature. This gives me fresh parsley for cooking and dried parsley for long-term use.
Just remember, regular harvesting encourages bushier growth, so don’t skip this step! With these techniques, you’ll have homegrown, flavor-packed parsley ready for any recipe year-round.
🌿
Best methods to dry parsley at home: air-drying vs. dehydrator vs. oven
Once you’ve harvested your parsley with sharp scissors or pruning shears, the next step is drying. Each method—air-drying, dehydrator, or oven-drying—has unique benefits for preserving that fresh parsley flavor.
I’ve tested all three in my garden, and the results vary wildly depending on your goals: speed, energy use, or minimal equipment.
For flavor retention, air-drying is my top pick because it mimics natural conditions, but it requires patience. If you’re short on time, a dehydrator or oven can speed things up—though you’ll need to monitor temperatures closely to avoid burning.
Let’s break down the pros, cons, and exact steps for each method so you can choose what works best for your kitchen.
⚠️ Comparison Table: Best Methods to Dry Parsley
| Method | Equipment Needed | Time Required | Flavor Retention | Energy Use |
|---|---|---|---|---|
| Air-Drying | Rubber bands, string, paper bags | 1-2 weeks | Excellent (natural process) | None |
| Dehydrator | Dehydrator unit | 4-6 hours | Very Good (controlled temp) | Low (electricity) |
| Oven-Drying | Oven, baking sheet | 2-4 hours | Good (risk of burning) | Moderate (high heat) |
For air-drying, bundle stems together with a rubber band and hang them upside down in a dry, dark place like a pantry or closet. This method takes the longest but preserves the most flavor.
I’ve found that using paper bags to cover the bundles helps prevent dust and pests while allowing airflow.
If you’re using a dehydrator, spread parsley leaves in a single layer on the trays and set the temperature to 95°F (35°C). Check every hour to ensure even drying—over-drying can turn leaves to dust.
My dehydrator takes about 4-6 hours, and the result is crisp, vibrant parsley ready for grinding.
For oven-drying, preheat your oven to its lowest setting (170°F/77°C) and place stems on a baking sheet lined with parchment paper. Prop the oven door open slightly with a wooden spoon to allow moisture to escape. This method is fastest but requires constant monitoring to avoid scorching.
No matter which method you choose, always strip the dried leaves from the stems once fully dehydrated. Store them in an airtight container away from light to keep that fresh flavor locked in for up to 12 months.
🌿