
How To
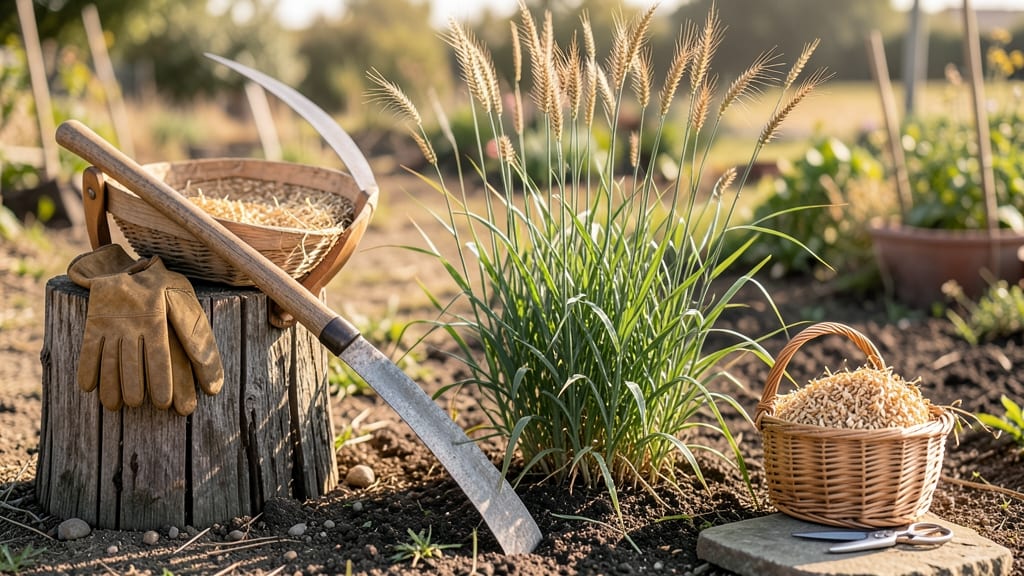
To harvest oats at the perfect moment means catching them when the seed heads turn golden-brown and the stems dry fully 🌾—a window that lasts only a few weeks.
Picture this: you’ve spent months nurturing your oat plants, and now the moment of truth arrives. Harvest too early, and the grains won’t be fully developed. Wait too long, and they’ll shatter or spoil in the field.
The difference between a bountiful harvest and a wasted crop often comes down to spotting the right cues.
In this guide, I’ll walk you through the exact signs to look for—like seed heads that rattle when shaken and lower leaves turning crispy—plus the tools and steps to ensure a smooth harvest. Whether you’re growing oats for food, animal feed, or even compost, timing and technique are everything.
You’ll also discover how to dry, store, and repurpose your harvest to maximize its value. Let’s turn those golden stalks into something useful before the next frost hits!
When to harvest oats: key visual and physical cues
Timing your oat harvest correctly is the difference between a bountiful yield and wasted effort. Oats reach maturity between 90 to 150 days after planting, but visual cues—like stem color and seed head dryness—are far more reliable than counting days.
Ignoring these signs can lead to premature harvests (underdeveloped seeds) or overripe harvests (shattering and mold risk).
Start by watching for golden-brown seed heads, the first clear sign your oats are nearing harvest. The lower leaves will also begin yellowing and drying, while the plants stop growing taller.
These visual cues work together to confirm readiness. But don’t rely on just one—combine all three for accuracy.
Here’s a quick doneness test: Gently shake a seed head. If the seeds rattle loudly inside, they’re ready. If they’re still soft or the heads feel spongy, wait 3 to 5 more days. This simple shake test saves you from harvesting too early or too late.
Weather plays a critical role in oat harvest timing. If rain is forecasted within 48 hours of your target harvest date, cut the oats early and dry them indoors.
Moisture after harvest can cause mold growth or seed shattering, ruining your crop. Always check the 5-day forecast before scheduling your harvest.
For small-scale gardeners, harvest oats on a dry, sunny morning to reduce humidity. Cut the plants 2-3 inches above ground using a sharp sickle or scythe.
Bundle the cut oats into small sheaves and hang them upside-down in a well-ventilated area to dry completely. This method prevents mold and ensures even drying.
Overripe oats are just as problematic as underripe ones. If you wait too long, the seed heads will shatter, scattering seeds across your garden. Worse, the grains may lose nutritional value or develop off-flavors.
To avoid this, harvest when 50-70% of the seed heads are golden-brown—this gives you a 3-5 day buffer to finish the job.
One common mistake is assuming all oat varieties mature at the same time. Red oats and white oats may have slightly different timelines, so monitor each variety separately. If you’re growing multiple types, harvest them in batches as they reach maturity. This staggered approach maximizes yield and quality.
Finally, never harvest oats if the seed heads are still green or the seeds feel soft when squeezed. Immature oats won’t store well and may spoil quickly. Always prioritize visual and tactile cues over guesswork—your future oatmeal (or animal feed) depends on it!
With these cues in mind, you’ll never miss the perfect harvest window again. Happy harvesting! 🌾
Step-by-step oat harvesting process for maximum yield
Once your oat plants reach maturity with golden-brown seed heads, it’s time to harvest. The process involves cutting, drying, and processing—each step critical to preserving grain quality and maximizing your yield.
Skipping proper techniques can lead to shattering losses or moldy oats, so follow these steps closely for the best results.
Start by gathering your harvesting tools, including a sharp sickle or scythe, a grain bag or tarp, and a fork or rake for cleanup. Work on a dry, sunny day with low humidity to prevent moisture-related issues. If rain is forecasted, harvest immediately to avoid spoilage.
Use a sharp sickle or scythe to cut the oat stalks about 2-3 inches above the ground. Work in sections to avoid overcrowding your workspace. Bundle the cut stalks into small sheaves (about 2 feet long) for easier handling.
Lay the sheaves in a single layer on a clean, dry surface like a tarp or drying rack. Place them in a well-ventilated area with direct sunlight for 3-5 days. Stir the sheaves daily to ensure even drying and prevent mold. Aim for a moisture content of 12-15% before processing.
Once fully dry, thresh the oats by beating the sheaves with a flail or rubber mallet to dislodge the seeds from the stalks. Alternatively, use a grain mill or threshing machine for larger quantities. Sift the mixture through a fine mesh screen to separate the oat groats from chaff and debris.
Inspect the groats for any remaining chaff or mold and remove by hand or with a fine sieve. Store the cleaned oats in airtight containers like glass jars or food-grade buckets in a cool, dark place to maintain freshness. Label with the harvest date for future reference.
Avoid harvesting oats when they’re still green or overly moist, as this can lead to mold growth or poor storage life. Similarly, delay harvesting if rain is imminent, as damp conditions accelerate spoilage.
For small-scale gardeners, consider hand-threshing in batches to save time and effort while still achieving high-quality results.
With proper timing and care, your homegrown oats will yield a nutrient-rich harvest perfect for baking, cooking, or even saving seeds for next year’s crop. Enjoy the satisfaction of turning your garden’s hard work into a versatile, wholesome product!