
How To
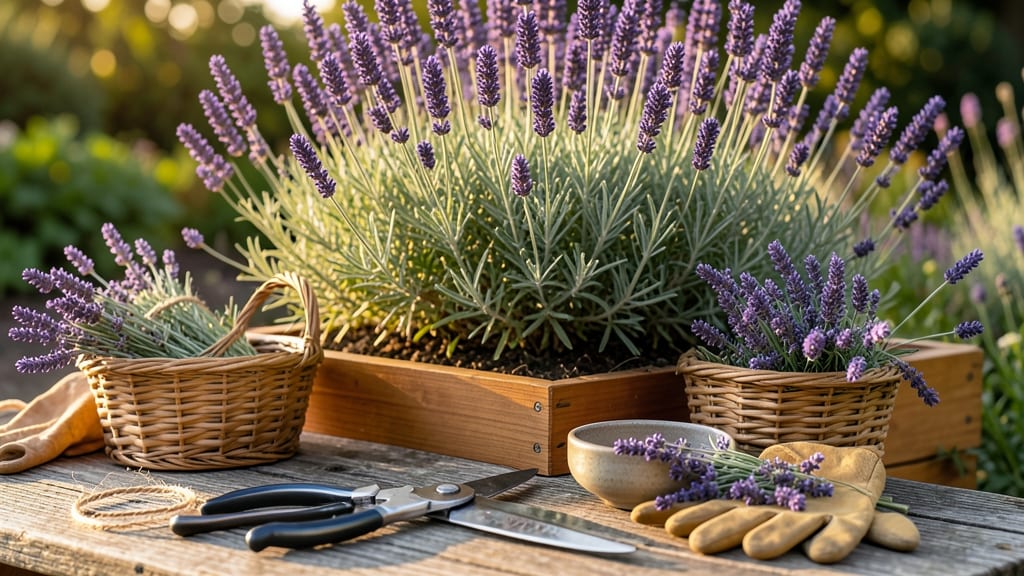
To harvest lavender for sachets at its peak fragrance, time your cut just as buds plump but before they bloom—this is the sweet spot for scent and color.
Picture this: you’ve spent months nurturing your 🌿 lavender, and now you’re ready to turn those fragrant stems into sachets that last for months. But harvest too early, and the aroma fades fast.
Too late, and the flowers lose their potency. The difference between a weak sachet and one that fills a drawer with calm is all in the timing.
Most gardeners in Zone 6a miss the window because they focus on flower size instead of bud readiness. The key? Look for buds that are fully formed but still closed—like tiny purple marbles.
That’s when the essential oils are at their strongest, and the stems are firm enough to hold their shape during drying.
In this guide, I’ll walk you through the exact moment to snip, the best tools to use, and how to dry your lavender so your sachets stay fragrant for a year or more. No more guessing—just foolproof results every time.
When to harvest lavender for sachets: the perfect timing window
Harvesting lavender at the right stage is everything when making sachets. The peak fragrance and essential oil content happen just before the flowers fully open. This bud stage ensures your sachets will have that rich, calming lavender scent for months.
Timing this window wrong can leave you with weak, barely fragrant bundles.
I’ve learned through trial and error that lavender’s harvest window is short—typically July through September in most climates. Missing this can mean sacrificing both scent potency and the beautiful purple hue that makes sachets so appealing. The key is watching for fully formed buds that haven’t yet bloomed.
Weather plays a crucial role too. Harvest on dry, sunny mornings after any overnight dew has evaporated. This prevents moisture from lingering in the stems, which can lead to mold during drying. I always check the forecast for clear skies for 24-48 hours before harvesting to ensure optimal drying conditions.
Here’s a quick reference to help you spot the perfect harvest time:
| Stage | Visual Cues | Best Time to Harvest | Fragrance Quality |
|---|---|---|---|
| Early Bud | Small, green buds forming | Not ready | Mild |
| Fully Formed Bud | Plump, rounded buds, no petals | Perfect timing | Strong, sweet |
| Early Bloom | Petals just starting to open | Acceptable | Moderate |
| Full Bloom | Flowers fully open | Too late | Weak |
Seasonal timing also matters. In USDA Zone 6, I harvest between mid-July and early September when the buds are fully formed but haven’t opened. This aligns with lavender’s natural growth cycle, ensuring the highest essential oil concentration in the stems and buds.
One trick I’ve picked up is to harvest lavender in the early morning when the essential oils are most concentrated. The cooler temperatures help preserve the plant’s natural oils, which evaporate more quickly in the heat of the day.
Always use clean, sharp pruners to avoid crushing the stems, which can bruise the plant and reduce fragrance.
If you’re growing lavender in containers, timing is even more critical because these plants often mature faster. I’ve found that container-grown lavender reaches its harvest window about 2-3 weeks earlier than in-ground plants. This is because they experience more consistent warmth and less competition for nutrients.
Don’t forget to leave at least 3-4 inches of stem when harvesting. This encourages the plant to grow bushier next season and produces more flowers for future sachets. I like to harvest about one-third of the plant at a time to avoid stressing it too much.
After harvesting, bundle the stems with twine or rubber bands and hang them upside down in a well-ventilated, dry area away from direct sunlight. Proper drying is just as important as the harvest timing itself—it preserves that potent lavender aroma you worked so hard to capture.
With the right timing and care, your homemade lavender sachets will fill your home with that soothing, floral fragrance for months. The effort is worth it when you open a drawer to find that fresh, calming scent still lingering.
Step-by-step lavender harvesting for sachets: tools and techniques
Harvesting lavender at the right moment transforms your sachets from ordinary to exceptionally fragrant. The key lies in using the correct tools and techniques to preserve those essential oils that make lavender so beloved.
I’ve learned the hard way—over-harvesting or cutting at the wrong time can leave you with weak, barely aromatic bundles. Let’s dive into the exact steps I use to ensure my lavender sachets stay potent for months.
Before you even touch your plants, gather your harvesting tools. You’ll need sharp pruning shears or a clean knife to avoid crushing stems, a bucket with a lid to protect the buds from light, and twine or rubber bands for bundling.
Trust me, skipping these steps can ruin your harvest’s quality. Once you’re equipped, the next step is all about precision cutting and proper drying.
How to Harvest Lavender for Sachets
- 1 Choose the right time: Harvest when flower buds are fully formed but before they open. This ensures maximum essential oil content. Early morning harvests yield the strongest fragrance.
- 2 Cut stems properly: Use clean shears to cut 4-6 inches below the buds. Avoid crushing stems, which releases oils prematurely and weakens scent.
- 3 Bundle stems securely: Gather 5-10 stems and tie them with twine or rubber bands. Hang bundles upside down in a dark, dry, and well-ventilated space like a garage or shed.
- 4 Dry for 2-3 weeks: Lavender needs 2-3 weeks to dry completely. Check regularly—buds should crumble easily when touched. Avoid using a dehydrator, as it can overheat and damage oils.
- 5 Avoid common mistakes: Never harvest wet lavender or in direct sunlight, as this fades the scent. Also, don’t cut old wood—focus on new growth for the best results.
One of the biggest mistakes I see is harvesting lavender when the flowers are already open. By this stage, the essential oils have dissipated, leaving your sachets with a faint scent.
Instead, aim for those plump, rounded buds that are just about to bloom. This is when the fragrance is at its peak, and your sachets will thank you later.
After drying, store your lavender in airtight containers away from light to preserve its aroma. I like to keep mine in small muslin bags tucked into drawers or closets.
This way, every time I open a drawer, I’m greeted with that calming lavender scent—a little piece of my garden in every room.
With these techniques, your lavender sachets will stay fragrant for up to a year, making them a cost-effective and natural way to freshen up your space. Plus, there’s nothing like the satisfaction of knowing you’ve crafted something beautiful and useful with your own two hands. Happy harvesting! 🌿