
How To
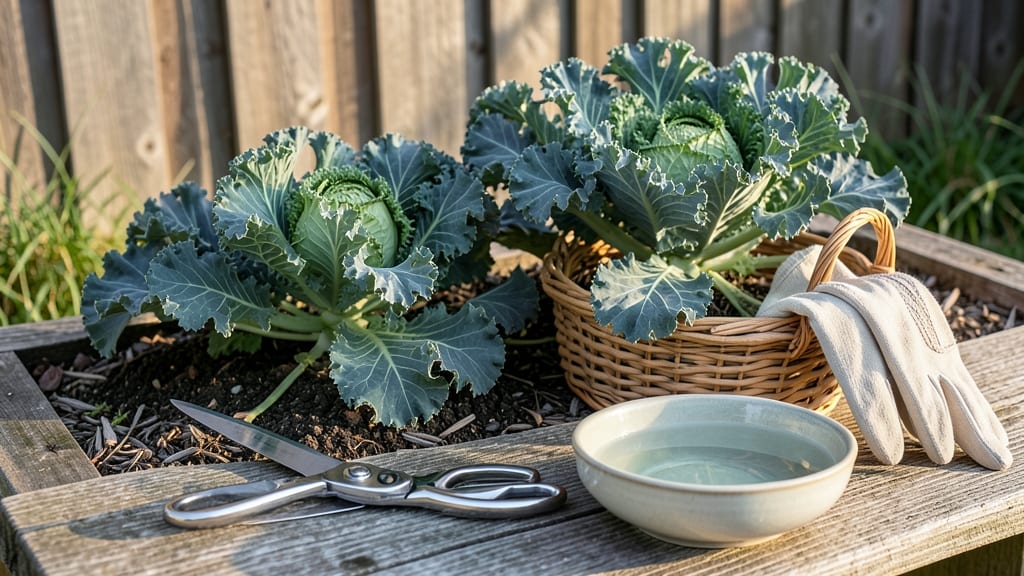
To harvest kale the right way means cutting outer leaves when they're 6-8 inches long—this keeps the plant producing for months while avoiding bitter, tough centers.
Picture this: you've waited weeks for your 🥬 kale to mature, only to pull leaves that taste like cardboard because you waited too long. Or worse, you snip too close to the stem and stunt regrowth.
The difference between a thriving plant and a sad one comes down to timing and technique.
Kale rewards patience—harvesting correctly means tender leaves for salads, smoothies, or sautéing, while leaving the center to regrow. But if you cut wrong, you'll get tough, bitter greens or a plant that bolts too soon.
Below, I'll walk you through the exact when and how to harvest for maximum yield and flavor.
You'll learn the best leaf size to pick, the right tools to use, and how to store your harvest so it stays fresh longer. By the end, you'll know how to keep your kale producing well into fall—or even winter in Zone 6a.
When to harvest kale for optimal regrowth and flavor
Harvesting kale at the right time ensures tender leaves with maximum flavor while encouraging your plant to keep producing. Unlike many greens, kale thrives on selective harvesting, allowing the center to regrow while you enjoy the outer leaves.
But timing is everything—harvest too early, and you’ll get bitter, tough leaves; wait too long, and the plant may bolt or become woody.
Most kale varieties reach harvest readiness around 50-70 days after planting, but this varies by type. For example, Lacinato (Dinosaur) kale matures slightly slower than Curly kale, which can be harvested as early as 30 days for baby leaves.
Pay attention to leaf size, color intensity, and texture—these are your best indicators.
Seasonal timing also plays a critical role. In cooler climates, aim to harvest in early spring (March-April) or fall (September-October) when temperatures are mild. Avoid harvesting during heatwaves or freezing conditions, as both can stress the plant and reduce flavor quality. If you’re growing kale in USDA Zone 6a or warmer, focus on fall harvests to escape summer heat.
For the best regrowth, focus on harvesting outer leaves first, leaving the inner leaves and stem intact. This method allows the plant to continue producing while you enjoy a steady supply.
If you’re growing baby kale for salads, you can harvest entire small leaves, but for mature plants, avoid cutting more than one-third of the plant at a time to prevent stress.
Watch for visual cues like deep green or purple color, firm texture, and leaves that are 6-8 inches long. If leaves start to yellow or develop woody stems, it’s a sign you’ve waited too long.
In my garden, I’ve found that fall-harvested kale (after a light frost) develops sweeter flavors due to natural sugar concentration—a trick worth trying if you love sweet kale chips!
Timing your harvest also depends on your climate zone. In warmer zones (7b and above), kale may bolt quickly in summer, so prioritize spring and fall harvests. In cooler zones (5a and below)row covers during light frosts.
My Zone 6a garden thrives with kale harvested from late September to November, long after most summer crops have finished.
Avoid the mistake of harvesting too aggressively—this can shock the plant and reduce future yields. Instead, use sharp pruning shears or clean scissors to cut leaves at a 45-degree angle, about 1 inch above the stem.
This encourages new growth while minimizing damage. I’ve also noticed that harvesting in the morning, after dew has dried but before the heat of the day, yields the tenderest leaves.
If your kale starts to bolt (send up a flower stalk), it’s time to
Step-by-Step kale harvesting techniques for healthy plants
Harvesting kale the right way is all about selective cutting—never removing more than 1/3 of the plant at once. This ensures your kale keeps producing for weeks, even months, while staying tender and flavorful.
The key is to focus on the outer leaves first, which are fully mature while leaving the inner, younger leaves to grow.
When you grab your sharp pruners or clean knife, remember: never cut into the growing point or you’ll stunt the plant. Instead, aim for leaves that are 6-8 inches long and have reached their full color—deep green or purple, depending on the variety.
This size guarantees the best flavor and texture without sacrificing future growth.
How to Harvest Kale: Step-by-Step Guide
- 🌱 Step 1: Choose the Right Tool – Use clean, sharp pruners or a knife to avoid tearing leaves. Disinfect tools with rubbing alcohol to prevent disease.
- 🌿 Step 2: Identify Outer Leaves – Select fully mature leaves (6-8 inches long) starting from the outer edges of the plant.
- ✂️ Step 3: Cut at the Base – Make a clean cut 1 inch above the stem to leave room for new growth. Avoid cutting into the center.
- 🌡️ Step 4: Harvest in Cool Weather – Pick leaves in the morning after dew dries for maximum crispness and flavor.
- 💧 Step 5: Water Immediately After – Give the plant 1 inch of water to support regrowth and prevent stress.
- 🌱 Step 6: Repeat Every 2-3 Weeks – Continue harvesting outer leaves to encourage continuous production through the season.
After harvesting, inspect your leaves for any yellowing or damaged areas—these should be discarded. The remaining leaves will regrow in 2-3 weeks, especially if you keep the soil moist and nutrient-rich.
For red or purple varieties, like Lacinato or Red Russian, the color deepens with cooler temperatures, so harvest later in the season for richer hues.
Pro tip: If your kale starts to bolt (send up flower stalks), it’s time to harvest everything at once. Bolted kale becomes bitter and tough, but you can still use the leaves in smoothies or soups where texture isn’t critical.
Prevent bolting by harvesting early and avoiding heat stress in summer.
With the right technique, your kale plant can produce harvest after harvest for months. Just remember: patience and precision are your best tools. The more carefully you cut, the more your plant will reward you with tender, flavorful leaves all season long.