
How To
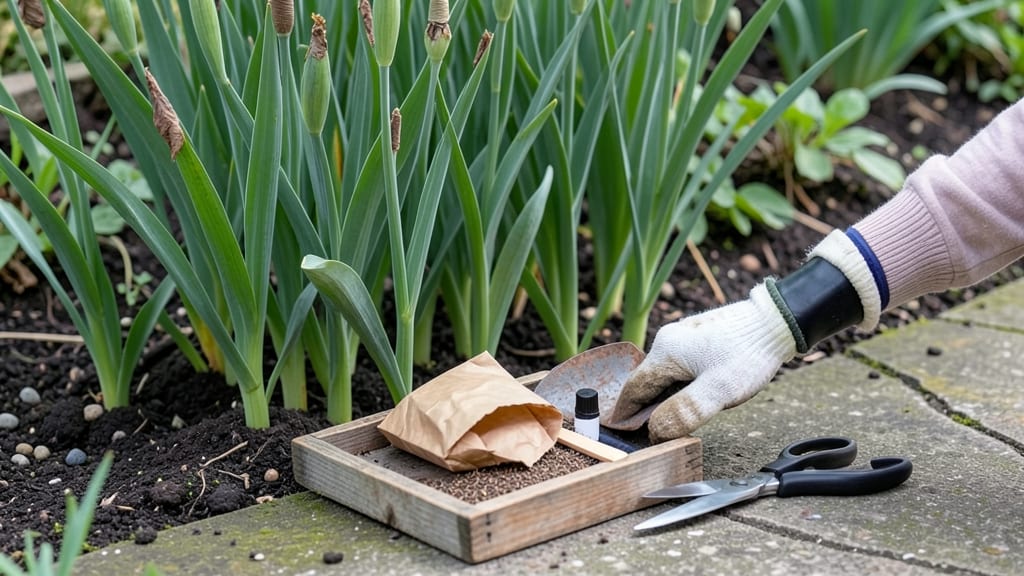
Harvesting iris seeds requires timing them right when the pods turn brown and papery 🌸—a window that’s easy to miss if you’re not watching closely.
Harvesting iris seeds at the right time can mean the difference between thriving new plants and wasted effort—yet most gardeners miss the critical window for collection.
If you’ve ever watched those seed pods swell and then dry out, only to split open before you could collect them, you know how frustrating it can be. The key is acting fast once they turn brown and brittle, but not so fast that you grab them too early.
Below, I’ll walk you through the exact signs to look for, the best tools to use, and how to store those seeds so they stay viable for planting—whether you’re a beginner or a seasoned gardener.
When and how to identify mature iris seed pods for harvesting
Timing is everything when harvesting iris seeds—miss the window, and you risk collecting immature or already-spilled seeds. The ideal harvest period falls between late summer and early fall, typically August through September in most USDA zones 6a and above.
During this time, iris seed pods undergo dramatic changes that signal readiness, from vibrant green to dry, papery brown.
First, locate the seed pods on your iris plants. After flowering, the stems will develop elongated, spindle-shaped pods that start green and firm. These pods contain the future of your iris garden, but only if harvested at the perfect moment.
Waiting too long means the pods will split open, scattering seeds and making collection messy. Harvesting too early results in seeds that won't germinate properly.
Here’s what to look for to ensure you’re harvesting at the right time:
| Stage | Pod Appearance | Texture | Seed Condition | Action |
|---|---|---|---|---|
| Early (Not Ready) | Green and firm | Moist, flexible | Soft, white, or translucent | Wait 2-4 weeks |
| Ideal (Ready) | Brown and papery | Dry, brittle, cracks easily | Dark, firm, fully formed | Harvest immediately |
| Late (Overripe) | Split open, hollow | Crumbly, empty | Scattered on ground | Collect any remaining seeds |
Pay close attention to the color transition—this is your best indicator. When the pods shift from green to a dull, brown hue, they’re typically ready. Gently squeeze a pod between your fingers; if it feels dry and brittle and cracks easily, it’s time to harvest.
Avoid pods that are still slightly green or overly moist, as these seeds may not germinate.
Another key clue is the sound the pods make. A mature, ready-to-harvest pod will produce a faint crinkling or rustling when shaken gently. This papery texture is a sign the seeds inside have fully matured.
If you hear nothing or feel no give, the pod isn’t ready yet. Patience here pays off—rushing the harvest can lead to seeds that fail to sprout.
Environmental conditions also play a role. Harvest on a dry, sunny day to minimize humidity, which can speed up the drying process and cause premature splitting. Early morning is ideal, as the pods will be firm and less prone to damage from dew or evening moisture.
Avoid harvesting after rain, as wet pods are more likely to split open or develop mold.
One common mistake is assuming all pods on a plant are ready at the same time. Iris plants often produce pods at different stages of maturity. Check each pod individually—some may be ready while others still need weeks to dry.
Use a small notebook to track the maturity of each pod if your plant has multiple blooms. This attention to detail ensures you don’t miss the perfect harvest window for any of them.
If you’re unsure whether a pod is ready, perform the "float test". Drop the pod into a bowl of water—if it floats, it’s not dry enough. If it sinks immediately, the seeds inside are likely mature and ready for harvest.
This simple test removes guesswork and helps you make confident decisions, especially for beginners.
Once you’ve identified the mature pods, act quickly. The harvest window is narrow—often just a few days—before the pods split open naturally. Use clean, sharp pruning shears or scissors to snip the pods from the stem, leaving a small portion of the stem attached.
This reduces the risk of damaging the plant and makes handling the pods easier during the extraction process.
Store harvested pods in a paper bag or breathable fabric sack in a cool, dry place until you’re ready to extract the seeds. Avoid plastic bags, as they trap moisture and can cause mold.
Label the bag with the harvest date to keep track of freshness. With the right timing and care, your iris seeds will be ready for germination in no time!
Step-by-step process for safely removing iris seeds without damaging pods
Once your iris seed pods reach the perfect brown and brittle stage, the next step is removing the seeds without tearing the delicate pods. The wrong technique can crush seeds or damage future harvests—so patience and the right tools are essential.
I’ve learned that using clean, sharp scissors or simply your fingers can make all the difference in preserving seed viability.
Start by gathering your supplies: a pair of sterilized scissors, a small bowl or envelope for seeds, and a damp paper towel to wipe your hands between pods. Work on a clean, dry surface like a table or tray to avoid contamination.
The goal is to extract seeds gently while keeping the pods intact for future reference or replanting.
Gently twist or cut open the pod
Hold the brown, dry pod firmly between your thumb and forefinger. For stubborn pods, use sterilized scissors to make a small slit along one seam. Avoid cutting too deeply—just enough to expose the seeds inside.
Extract seeds with precision
Use a toothpick or tweezers to carefully pull out each seed. If seeds stick, lightly tap the pod on the table. Never yank or squeeze—this can damage the seed coat or crush the embryo inside.
Inspect and separate viable seeds
Place seeds in your bowl and discard any that are shriveled, discolored, or hollow-sounding when tapped. Keep only the dark, firm seeds—these have the highest chance of germinating successfully.
Label and store pods/seeds
Write the harvest date and iris variety on a small tag. Store seeds in a paper envelope in a cool, dry place (like a seed vault or fridge). Keep the empty pods in a separate container if you plan to replant them next season.
After harvesting, avoid washing the seeds or exposing them to direct sunlight for more than a few hours. Iris seeds need time to dry completely before storage—typically 3–5 days in a well-ventilated area.
Once fully dry, their viability can last 1–2 years if stored properly in an airtight container with a silica gel packet.
If you’re unsure whether a seed is viable, perform a simple float test: drop seeds in water. Viable seeds sink, while hollow or damaged ones float. This trick saves time when planning your next planting season.
With the right care, your harvested seeds can grow into stunning new irises in just a few months!
Pro tip: Harvest on a dry, overcast day to prevent seeds from sticking to the pods due to morning dew. A little planning now ensures your seeds stay fresh and ready for spring planting. 🌸