
How To
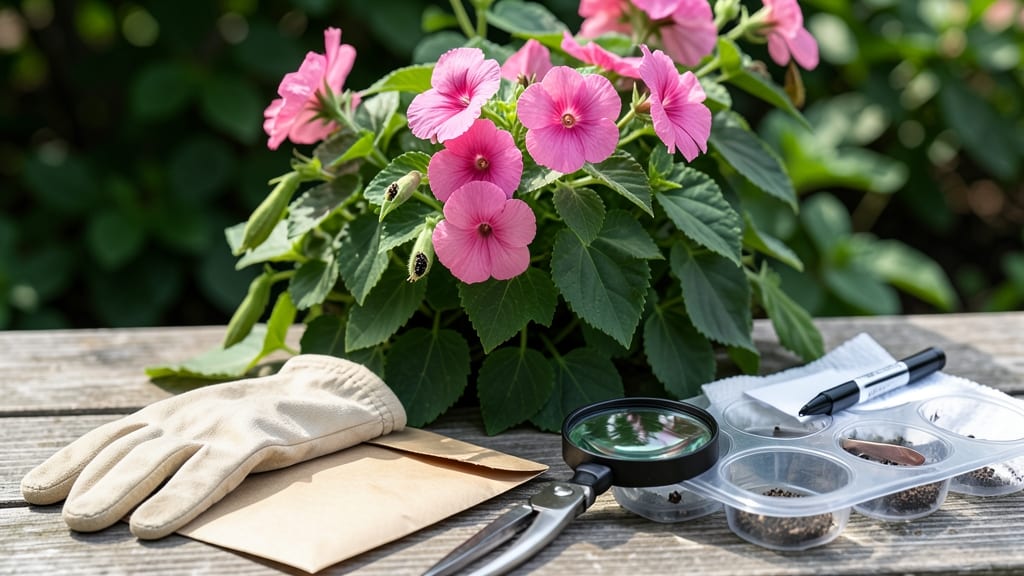
Harvesting impatiens seeds at the right moment ensures you save the perfect blooms for next year’s garden 🌸 — and missing that window means losing your chance entirely.
Impatiens, with their vibrant blooms, can also produce seeds—but only if you know exactly when and how to harvest them. One wrong move, and your seeds won’t sprout, leaving you scrambling for new plants.
In this guide, I’ll walk you through the three key signs that your impatiens are ready for seed collection, from pod color changes to the telltale rattle of mature seeds inside.
You’ll also learn how to dry, store, and plant them like a pro—plus the common mistakes that ruin seed viability. Let’s get started!
3 Visual signs your impatiens are ready for seed harvesting
Knowing exactly when to harvest impatiens seeds can mean the difference between a thriving garden next year and wasted effort. These delicate plants produce seeds in late summer or early fall, but only when they reach full maturity.
One wrong move—like picking too early or too late—can ruin seed viability, leaving you with nothing to plant.
The key lies in observing three visual cues that signal your impatiens are ready for seed collection. These signs are subtle but unmistakable if you know what to look for. Ignoring them often leads to seeds that won’t germinate, forcing you to buy new plants instead of propagating your own.
Here’s what to watch for—plus how to act once you spot these telltale signs in your garden.
🌾 Numbered Highlights: How to Harvest Impatiens Seeds
-
1. Seed Pods Turn Brown and Papery
Mature impatiens seed pods shift from green to dry brown. When fully ripe, they feel lightweight and crispy—almost like dried paper. Press gently: if it crumbles easily, it’s ready. -
2. Pods Split Open Naturally
Overripe pods crack open on their own, releasing seeds. If you see pods splitting, harvest immediately—seeds scatter quickly in wind or rain. Collect them before they hit the ground! -
3. Seeds Rattle Inside the Pod
Give a ripe pod a gentle shake. If you hear seeds rattling like marbles, they’re mature. This sound means the seeds are loose and ready for drying.
✂️ Pro Tip: Harvest pods in the morning when humidity is low to prevent mold during drying.
Timing is everything with impatiens seeds. If you harvest too early, the seeds won’t be viable—think green pods that feel firm or seeds that stick together.
Too late, and the pods may burst open, scattering seeds before you can collect them. The brown, papery texture is your golden ticket to success.
Once you spot these signs, act fast. Use clean scissors or pruning shears to snip the pods from the stem, leaving a small portion attached. Place them in a paper bag (not plastic!) to dry in a warm, dry place for 1-2 weeks.
This step is critical—skipping it risks mold or poor germination.
Don’t overlook the natural splitting of pods as a signal. If you see pods cracking open on their own, it’s a race against time. Seeds released this way are still viable, but they’re vulnerable to pests or moisture. Collect them immediately and dry them indoors to preserve their quality.
One common mistake? Waiting until the plant’s leaves yellow and die back. While this can indicate seed readiness, it’s often a sign the plant is already declining. Focus on the pods’ color and texture first—they’re the most reliable indicators.
If you’re unsure whether your pods are ready, perform the shake test. Hold a pod over a white surface (like paper or a light-colored towel) and shake it gently. If seeds scatter easily, they’re mature. If they clump together or feel damp, wait a few more days.
Harvesting at the right moment ensures you’ll have high-quality seeds for next year’s garden. Store dried seeds in a cool, dark place (like a sealed envelope or jar) for up to 2 years. With these visual cues, you’ll never miss the perfect time to collect impatiens seeds again!
Step-by-step guide: from pod identification to seed drying
Once you’ve spotted those ready impatiens seed pods, the next step is harvesting them properly to preserve seed viability. Timing and technique matter—collect too early, and your seeds won’t germinate; wait too long, and they’ll scatter or lose potency.
I’ve harvested seeds from my New Guinea impatiens for years, and I’ve learned that patience and precision pay off.
Start by gathering your tools: a pair of clean pruning shears, a small bowl or envelope for seeds, and a paper bag for drying. Work on a dry day when the pods are fully mature but haven’t yet split open naturally.
This ensures you capture every seed without losing them to the wind.
How to Harvest Impatiens Seeds
-
1. Identify Mature Pods
Look for brown, papery pods that feel crispy to the touch. Gently squeeze—if seeds rattle inside, they’re ready! -
2. Snip Carefully
Use pruning shears to cut pods from the stem, leaving a small stem attachment (helps with drying). -
3. Open Pods Indoors
Place pods in a paper bag and seal loosely. Store in a warm, dry spot (like a sunny windowsill) for 1–2 weeks. -
4. Extract Seeds
Once pods are completely dry and brittle, crush them gently to release seeds. Sift through debris with fingers. -
5. Store Properly
Keep seeds in a paper envelope or airtight container with a silica gel packet to prevent moisture.
After harvesting, the drying process is critical. I recommend spreading seeds on a paper towel in a single layer for 3–5 days in a warm, dry place. Avoid direct sunlight, which can overheat and damage them. Once fully dry, they’ll look like tiny, wrinkled black specks—ready for storage.
Label your seed packets with the harvest date and impatiens variety. Store them in a cool, dark place (like a fridge) where they’ll stay viable for 2–3 years. Pro tip: Test a few seeds annually to check germination rates—this tells you if they’re still good!
If you’re eager to plant, sow seeds indoors in spring using a seed-starting mix. Keep the soil moist and warm (around 70°F) until sprouts appear, which usually takes 10–14 days. Patience here ensures strong, healthy seedlings.
Remember, impatiens seeds are delicate, so handle them with care. With the right approach, you’ll have a head start on next year’s colorful impatiens blooms—and maybe even share seeds with fellow gardeners! 🌿