
How To
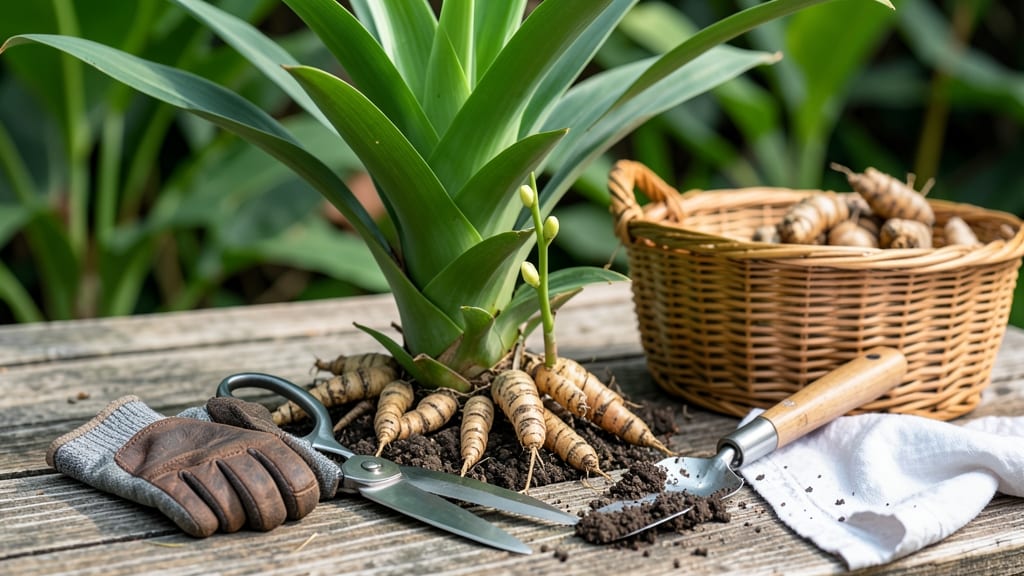
Harvesting ginger root plant at the right time and with the right technique ensures you get the largest, most flavorful rhizomes 🌿—and skipping these steps means smaller, tougher roots.
Picture this: you’ve nurtured your ginger for nearly a year, only to dig up knobby, underdeveloped rhizomes because you missed the window. The good news? Timing is everything, and with the right approach, you’ll pull up plump, ready-to-use roots packed with flavor.
In this guide, I’ll walk you through the exact signs to watch for—yellowing leaves, firm rhizomes, and more—and the step-by-step method to dig without damaging your harvest. You’ll also learn how to cure and store your ginger so it stays fresh for months.
Whether you’re a first-time grower or a seasoned gardener, these proven techniques will help you maximize your yield and avoid common pitfalls like premature harvesting or root damage.
When to harvest ginger root for the best yield and flavor
Timing your ginger harvest is everything—dig too early, and you’ll get small, underdeveloped rhizomes. Wait too long, and flavor fades while roots become woody. The sweet spot arrives 9 to 12 months after planting, when your plant signals maturity through yellowing leaves and reduced growth.
This window ensures maximum yield and flavor, but climate plays a role in adjusting your schedule.
In tropical climates (USDA Zones 8-11), ginger thrives year-round, and harvests align with natural foliage dieback, often between June and August. For temperate zones, plant in spring (March-May) and harvest in late fall or early winter before frost hits.
Always prioritize leaf color—when most foliage turns yellow and dries, your rhizomes are ready for digging.
Here’s the key: rhizomes stop growing when leaves yellow, but they continue storing nutrients. Harvesting at this stage locks in maximum size and flavor. If you’re unsure, gently dig up one test rhizome—if it’s firm, plump, and brown-skinned, it’s time to harvest the rest.
| Harvest Stage | Signs of Readiness | Climate Adjustments | Ideal Timeframe |
|---|---|---|---|
| Early Maturity | Leaves start yellowing; rhizomes 1-2 inches | Tropical: Year-round; Temperate: Skip | Avoid—roots are underdeveloped |
| Peak Harvest | 70% leaves yellow; rhizomes 3+ inches, firm | Tropical: June-August; Temperate: Oct-Nov | Best flavor and size |
| Late Harvest | All leaves dead; rhizomes woody, skin tough | Tropical: Sept-Oct; Temperate: Dec+ | Lower flavor; use for cooking only |
| Forced Harvest | Emergency digging (e.g., frost risk) | Temperate zones only | Smaller yield; cure immediately |
Your ginger’s growth cycle depends on temperature. In hot climates, plants mature faster—sometimes in 8-9 months—while cooler zones may need 12+ months. Watch for foliage dieback, the plant’s natural signal to harvest.
If you’re in a short-season area, prioritize varieties like ‘Baldwin’, which matures quicker than ‘Jersey’ or ‘Oregon’ types.
Pro tip: Mark planting dates and track leaf color changes with a garden journal. Note when 70% of leaves yellow—this is your harvest window. For container-grown ginger, check rhizome size through the pot’s sides; if they’re filling the space, it’s time to dig.
Climate also dictates harvest frequency. In tropical regions, you can harvest multiple times per year by leaving one-third of rhizomes in the soil to regrow. In temperate zones, treat ginger as an annual crop—dig up the entire plant after harvest to avoid frost damage.
Never harvest based on rhizome size alone. A large but soft rhizome means it’s not fully matured, while a small but firm one could be ready. Always combine leaf color and rhizome texture for accuracy. If unsure, wait 2 more weeks—ginger won’t improve after dying back.
Post-harvest, cure your ginger for 1-2 weeks in a dry, shaded area to develop flavor. Store cured rhizomes in a cool, dark place for up to 6 months. By mastering harvest timing, you’ll enjoy plump, aromatic ginger straight from your garden.
Step-by-step guide to digging up ginger roots without damage
Once your ginger plant shows signs of maturity—like yellowing leaves and firm rhizomes—it’s time to harvest. The key to a successful harvest lies in gentle extraction and proper post-harvest care. If done incorrectly, you risk damaging the delicate rhizomes or losing flavor.
I’ll walk you through the entire process, from tools to storage, so you can enjoy a bounty of plump, flavorful ginger roots.
Start by gathering your harvesting tools: a fork or garden trowel, gloves, a bucket, and a soft brush. Avoid sharp tools like knives, as they can slice through the rhizomes. Work on a dry, sunny day when the soil is slightly damp but not soggy.
This ensures the roots are easier to dig up without breaking, and the sun helps dry them out for curing.
How to Harvest Ginger Root Plant
-
Step 1: Loosen the Soil
Use a fork or garden trowel to gently loosen the soil around the plant, working in a circular motion about 6 inches from the base. Avoid piercing the rhizomes. -
Step 2: Lift the Plant
Grasp the foliage and carefully lift the entire plant out of the soil. Shake off excess dirt, but don’t rinse the rhizomes yet—this can speed up spoilage. -
Step 3: Remove Soil Residue
Use a soft brush or your hands to gently remove any remaining soil from the rhizomes. Be extra careful with the “fingers” (the knobby sections) to avoid breaking them. -
Step 4: Trim the Foliage
Cut the stems back to about 2 inches above the rhizomes using clean, sharp scissors. This reduces moisture loss during curing. -
Step 5: Cure the Ginger
Place the rhizomes in a well-ventilated area with indirect sunlight for 7-10 days. This allows the skin to toughen and develop flavor. Turn them occasionally for even drying. -
Step 6: Store Properly
Once cured, store the ginger in a cool, dry place (like a pantry) where the temperature stays between 50-60°F. Avoid refrigeration, as it can cause moisture buildup and spoilage.
After harvesting, inspect your ginger for any damaged or soft spots. These should be discarded immediately, as they can spoil the rest of your harvest. For the best flavor, use your freshly cured ginger within 6-12 months.
If you notice mold or shrinkage, it’s time to replace your stored ginger with fresh rhizomes.
Pro tip: Save a few of your largest, healthiest rhizomes for replanting next season. Simply cut them into 1-inch pieces, ensuring each has a bud or “eye”, and replant them in spring. This way, you’ll have a continuous supply of homegrown ginger year after year.
With these steps, you’ll transform your ginger harvest from a risky gamble to a rewarding, flavorful success. Happy digging! 🌱