
How To
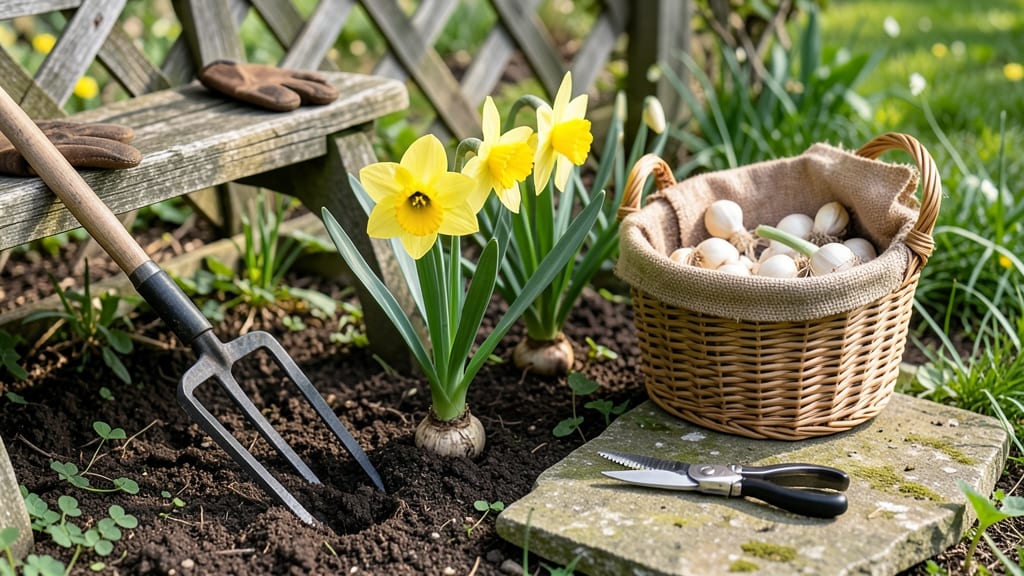
To harvest daffodils at the best time for healthy bulbs, you’ll need to time it just right—after the blooms fade but before the leaves yellow completely.
Daffodils bring vibrant color to spring gardens—but harvesting their bulbs for future blooms requires precision timing and proper care. Learn the exact steps to ensure healthy bulb regrowth while avoiding common mistakes that kill your prized flowers.
Most gardeners miss the 6-week window after blooming when bulbs store energy for next year’s growth. Cut too early, and you weaken the bulb; wait too long, and you risk losing it entirely. I’ve dug up daffodils at the wrong time and watched them shrivel in storage—don’t make that mistake.
In this guide, you’ll discover when to harvest, how to dig and store bulbs correctly, and even how to revive damaged ones. By the end, you’ll have a foolproof method for keeping your daffodil patch thriving year after year.
When to harvest daffodils for maximum bulb regrowth
Timing is everything when harvesting daffodil bulbs—especially if you want them to thrive next season. The 6-week window after flowering is critical, but missing it by even a few days can weaken your bulbs.
Unlike many flowers, daffodils store energy in their leaves, not the blooms, so cutting the stems too soon starves the bulb. Understanding these leaf color changes and regional adjustments ensures your bulbs stay strong and healthy.
Most gardeners focus on the flowering stage, but the real magic happens after the petals fade. Your bulbs need all their foliage to mature and store nutrients for next year's blooms.
If you harvest too early, you'll end up with smaller, weaker bulbs—or worse, no blooms at all. Let me show you exactly what to watch for and when to act.
| Stage | Key Indicators | Action | Regional Adjustments |
|---|---|---|---|
| Post-Flowering | Flowers fade, stems brown | Leave foliage intact | All regions |
| 6-Week Window | Leaves turn yellow-green (not brown) | Mark harvest date | USDA Zones 3-7: Late June |
| Harvest Ready | 70% of leaves yellowed, stems soft | Dig bulbs carefully | Zones 8-10: Early July |
| Too Late | Leaves completely brown, crispy | Bulbs may rot in storage | Avoid in all climates |
The 6-week window starts the moment your daffodils finish flowering. This is when the bulbs are actively storing energy in their leaves. If you see the leaves turning yellow-green (not brown yet), that's your first sign to start monitoring.
Wait until about 70% of the foliage has yellowed—this means the bulb has absorbed most of its nutrients. Harvesting too soon means you're interrupting this process.
Regional climates play a huge role in timing. In cooler northern zones (3-7), daffodils often finish flowering by late May, so aim for a harvest in late June to early July.
Meanwhile, in warmer southern zones (8-10), flowering might extend into June, pushing your harvest window to early July. Always adjust based on your local last frost date—bulbs need time to mature before winter.
One common mistake is waiting until the leaves are completely brown and crispy. By then, the bulb has already lost most of its stored energy, and you risk digging up weak or rotting bulbs. Instead, focus on that yellow-green transition.
It’s the perfect balance between nutrient absorption and bulb readiness. Think of it like a traffic light system: green leaves = keep growing, yellow = almost ready, brown = too late.
If you're unsure about timing, use a simple trick: mark the day your daffodils finish flowering with a garden flag or note in your calendar. Count forward 6 weeks and check the leaves weekly.
This method works even if you're not a seasoned gardener. Pro tip: Take a photo of your daffodils when they finish blooming—it helps you track progress visually over time.
Another key factor is soil moisture before harvest. Avoid digging if the ground is waterlogged or bone-dry. Ideal soil should be slightly moist but not soggy. Wet soil can damage bulbs, while dry soil makes them harder to extract.
If you must harvest in less-than-perfect conditions, wait for a day with mild temperatures (60-75°F) to minimize stress on the bulbs.
Don’t forget to consider your local microclimate. If your garden sits in a low spot where frost lingers, your daffodils might need an extra week or two before harvest. Conversely, if you're in a hot, dry area, bulbs might mature faster.
Pay attention to how your specific daffodil varieties perform—some, like 'Tête-à-Tête' or 'Ice Follies', may have slightly different timelines than standard types.
Once you've identified the perfect harvest window, the next step is careful digging. Use a fork or spade to lift bulbs gently, avoiding cuts or bruises. After harvest, let them cure in a dry, shaded spot for 2-3 weeks before storing.
This drying process prevents rot and ensures your bulbs stay healthy until planting season. But timing is the first step—get it right, and you'll be rewarded with stunning blooms next spring.
Step-by-step daffodil bulb harvesting & storage process
Harvesting daffodil bulbs at the right time ensures healthy regrowth and vibrant blooms next spring. The key is patience—wait until the foliage turns yellow-brown but hasn’t fully died back.
This usually happens 6-8 weeks after flowering, depending on your climate. Rushing the process weakens bulbs, while waiting too long reduces storage quality.
Once you’ve identified the perfect moment, use a fork or spade to carefully dig around the bulb, leaving the foliage intact. Gently lift the bulb from the soil to avoid damaging the delicate skin.
Handle them with care—bruised bulbs rot faster during storage. After digging, let them air-dry for 24 hours in a shaded area before cleaning.
- 1 Dig bulbs 6-8 weeks after flowering when foliage turns yellow-brown. Use a fork or spade to loosen soil around the bulb without piercing it.
- 2 Clean gently with a soft brush to remove soil. Avoid water pressure—wet bulbs are prone to rot. Let them air-dry for 24-48 hours in a shady, dry spot.
- 3 Cure bulbs for 2-3 weeks in a cool, dry place (50–60°F). Place them in a single layer with good airflow to prevent mold. Discard any bulbs showing soft spots or rot.
- 4 Store bulbs in paper bags or mesh containers to allow airflow. Keep them in a dark, cool location (35–45°F) with 40–50% humiditycondensation causes rot.
- 5 Check monthly for signs of rot or sprouting. Discard any bulbs that feel mushy or smell off. Healthy bulbs will sprout in fall when replanted.
After curing, store bulbs in paper bags or mesh containers to maintain airflow. A cool basement or garage (35–45°F) with low humidity is ideal. Avoid refrigerators—fluctuating temps damage bulbs. Check them monthly for rot or sprouting, and discard any compromised bulbs immediately.
If you notice mold or soft spots during storage, isolate the affected bulbs and increase airflow. Never store bulbs in plastic bags—trapped moisture leads to rot. With proper care, your daffodil bulbs will stay viable for 1–2 years, ready to bloom again when replanted.
For best results, replant bulbs in fall (September–November), 6–8 weeks before the ground freezes. Choose a well-draining spot with full sun to encourage strong regrowth. Mulch lightly after planting to protect bulbs through winter.