
How To
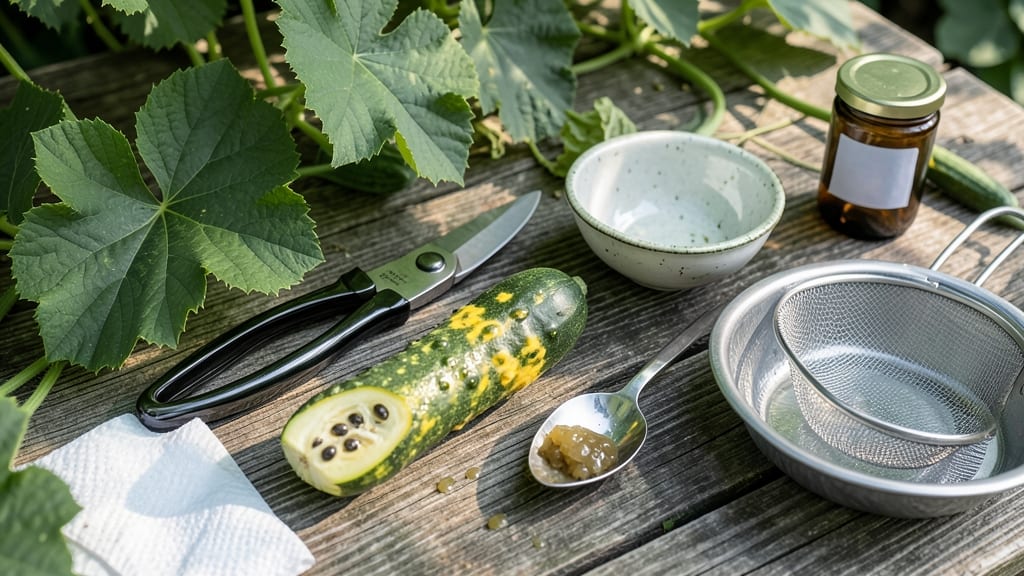
Harvesting cucumber seeds from your homegrown 🥒 plants is the easiest way to save rare varieties—and skip the cost of buying new seeds every year.
But here’s the catch: if you don’t time the process just right, your seeds can mold, shrivel, or fail to sprout. One wrong move, and months of effort go to waste.
In this guide, I’ll walk you through the exact 4-step method for extracting, fermenting, drying, and storing cucumber seeds—plus the critical mistakes that ruin batches before they’re even packaged.
Whether you’re growing heirloom slicers or pickling types, you’ll learn how to identify the best cucumbers for seed saving, troubleshoot common issues, and keep your seeds viable for years.
Step-by-step guide to harvesting cucumber seeds for long-term storage
Saving cucumber seeds from your garden is a rewarding way to preserve heirloom varieties and ensure next year’s harvest matches your favorite flavors. The key lies in proper timing and technique—especially during the fermentation and drying stages.
Skipping these steps can lead to moldy or non-viable seeds. Let’s walk through the 4-step process I’ve perfected over years of seed saving.
Before you begin, gather these essential tools: a sharp knife, glass jar (for fermentation), paper towels, and envelope or airtight container for storage. The process starts with selecting the right cucumbers—overripe ones with fully developed seeds are your best bet for success.
Choose overripe cucumbers (soft, seedy, and slightly shriveled). Cut them open lengthwise and scoop out the seeds and gel into a glass jar. Add 1 inch of water to cover the seeds completely.
Cover the jar with a loose lid or cloth and let it ferment at room temperature (70–75°F) for 3 days. This removes the bitter coating that prevents germination. Stir daily to prevent mold. Bad smell = normal!
After fermentation, pour the mixture through a fine mesh strainer to separate seeds from gel. Rinse seeds with cool water until the water runs clear. Spread seeds on a paper towel in a single layer to dry for 3–5 days in a dark, dry place.
Once seeds are completely dry and brittle, transfer them to a paper envelope or airtight container. Label with the variety name and date. Store in a cool, dark place for up to 5 years. Test viability by planting a few seeds before full-scale sowing.
Timing is critical in Step 2 (fermentation). If you skip this step, the seeds may retain a bitter taste or fail to germinate. I once rushed the process and ended up with only 30% viable seeds—a costly mistake!
Let the fermentation run its full course, even if the smell is strong.
During Step 3 (drying), avoid direct sunlight, which can cause seeds to overheat or crack. A shady, well-ventilated area is ideal. I use a screened drying rack to ensure airflow.
If humidity is high, extend drying time to prevent mold. A gentle fan can help speed up the process safely.
Labeling your seeds is non-negotiable. I’ve lost track of varieties before, so I always include the year, variety, and any notes (e.g., "resistant to powdery mildew"). Use a permanent marker on envelopes or a small label maker for clarity. Store seeds in small batches to avoid moisture buildup.
One common mistake is over-drying seeds, which reduces germination rates. Test dryness by attempting to crush a seed—if it shatters easily, it’s ready. If it’s still pliable, give it another day or two.
I’ve salvaged seeds by rehydrating them slightly in water for 12 hours before replanting, though this isn’t ideal.
For long-term storage, keep seeds in a sealed container with a silica gel packet to absorb moisture. I store mine in the fridge for extra protection against pests.
Test a few seeds annually to ensure they’re still viable. If germination drops below 80%, it’s time to replant and refresh your seed stock.
Harvesting cucumber seeds is a simple yet science-backed process when done correctly. By following these 4 steps and avoiding common pitfalls, you’ll have a reliable seed supply for years to come. Happy saving—and may your next harvest be even more bountiful! 🌱
Best cucumber varieties for seed saving and how to identify them
Not all cucumbers are created equal when it comes to seed saving. Heirloom varieties like ‘Lemon Cucumber’ and ‘Straight Eight’ produce viable seeds that retain their unique traits, while many hybrid varieties (like ‘Dasher II’) are bred for sterile seeds.
Knowing the difference saves you time—and money—on future plantings.
Hybrid cucumbers (marked with F1 on seed packets) are designed for consistent yields and disease resistance, but their seeds won’t grow true to type. Heirlooms, on the other hand, let you preserve genetic traits like flavor, shape, and size across generations.
Always check seed packets for “open-pollinated” labels before saving seeds.
Here’s how to spot the best cucumbers for seed saving: look for fully mature fruits that are overripe (soft, slightly wrinkled skin) but not rotting. Pickling cucumbers like ‘Boston Pickling’ are great for seeds, while slicing types like ‘Marketmore 76’ also work if left to overripen.
Avoid small, greenhouse varieties—they often produce sterile seeds.
| Variety | Type | Seed Viability | Best For |
|---|---|---|---|
| Lemon Cucumber | Heirloom | ✅ Viable | Fresh eating |
| Straight Eight | Heirloom | ✅ Viable | Pickling/slicing |
| Marketmore 76 | Heirloom | ✅ Viable | Slicing |
| Boston Pickling | Heirloom | ✅ Viable | Pickling |
| Dasher II | Hybrid (F1) | ❌ Sterile | Slicing |
| Sweet Success | Hybrid (F1) | ❌ Sterile | Greenhouse |
For best results, save seeds from 3+ cucumbers of the same variety to ensure genetic diversity. Overripe cucumbers (left on the vine until yellowing) yield the most viable seeds. If you’re unsure about a variety, check seed catalogs—open-pollinated labels mean you can save seeds successfully.
Pro tip: Label your seeds with the variety name and year. Store them in a cool, dry place (like a paper envelope) for up to 5 years. Test a few seeds annually to check viability—if germination drops below 80%, it’s time to replant!
Now that you’ve identified the right varieties, your next step is harvesting and processing those seeds properly. In the next section, I’ll walk you through the 4-step drying method that keeps seeds mold-free and ready for planting.