
How To
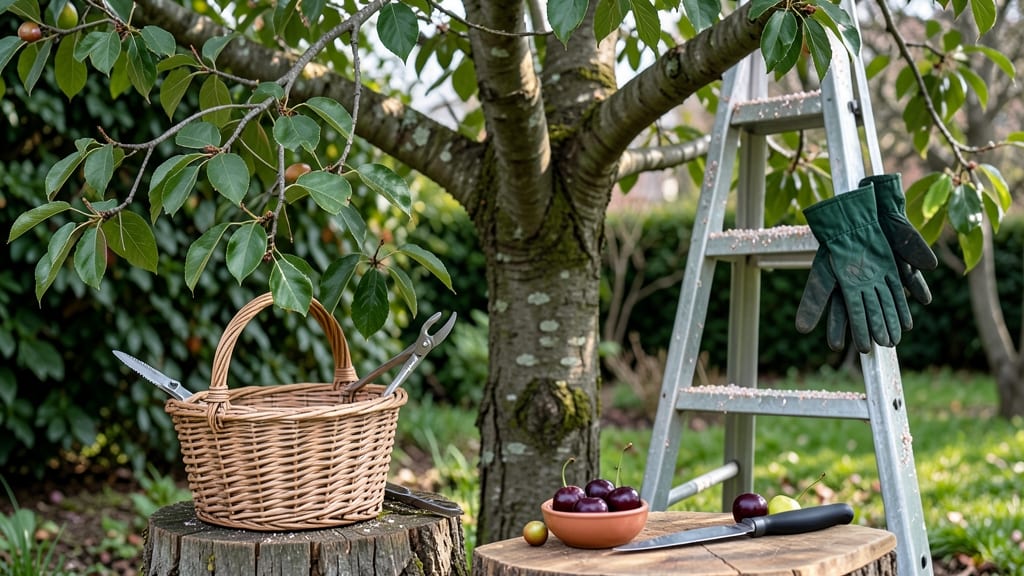
Harvesting cherries at the right time means the difference between sweet, juicy fruit 🍒 and tart, underripe messes—and most gardeners get it wrong the first few times.
You might think color is the only clue, but the stem twist test is the real game-changer. A ripe cherry’s stem should snap off cleanly with just a gentle twist, while unripe fruit clings stubbornly to the branch.
In Zone 6, sweet cherries like Bing and Stella peak in late June to early July, while sour varieties like Montmorency ripen a few weeks earlier. Missing this window means birds or pests will beat you to it—or worse, your cherries turn mealy before you even pick them.
Below, I’ll walk you through the three key tests to nail the perfect harvest, plus tools to avoid bruising and how to handle uneven ripening so you don’t waste a single cherry.
3 Key tests to determine when cherries are ready for harvest
Timing your cherry harvest perfectly ensures the sweetest, juiciest fruit possible. Sweet cherries like Bing or Rainier and sour cherries like Montmorency all ripen differently, but these three tests work for every variety.
I’ve used them for years in my garden, and they’ve saved me from picking cherries too early—or worse, missing the harvest window entirely.
First, let’s tackle the most reliable test: the stem twist method. This simple trick tells you whether the fruit is ready to pick without guessing. Next, we’ll explore color changes that signal ripeness, followed by size consistency checks to ensure your cherries are fully developed.
Master these, and you’ll never second-guess your harvest again!
🌱 3 Tests to Harvest Cherries at Peak Ripeness
- 1. Stem Twist Test: Gently grasp a cherry between your thumb and forefinger and twist it slightly. If the stem snaps cleanly near the fruit (about ¼ inch from the cherry), it’s ready. If it resists or pulls away with the stem, wait 1-2 days.
-
2. Color Change: Compare your cherries to these variety-specific cues:
- Sweet cherries: Deep red, purple, or yellow (no green undertones)
- Sour cherries: Rich dark red or maroon (almost black)
-
3. Size Consistency: Measure a few cherries against your variety’s standard size:
- Sweet cherries: 1–1.5 inches in diameter
- Sour cherries: 0.75–1 inch in diameter
Pro Tip: Test 3–5 cherries per branch to account for uneven ripening. Birds love cherries too! Harvest early if you spot heavy bird activity.
Let’s dive deeper into the stem twist test, the gold standard for cherry ripeness. When cherries are perfectly ripe, the stem naturally dries out and shrinks slightly where it meets the fruit.
This makes the twist test foolproof—I’ve even used it to teach kids in my neighborhood garden club! Start by picking a cherry from a sun-exposed branch (shady branches ripen slower).
For color changes, don’t just eyeball it—use these visual benchmarks. Sweet cherries like Stella or Chelan should transition from light pink to a vibrant deep red or ruby hue.
If you see any green patches, they’re not ready yet. Sour cherries, on the other hand, darken to a near-black color when ripe. Hold a cherry up to a white background to spot subtle color shifts you might miss otherwise.
Size matters too! Undersized cherries (smaller than your variety’s standard) often lack sweetness and may not ripen further. For example, Bing cherries should be about the size of a marble, while Montmorency cherries are closer to a small grape.
Use a ruler or compare them to a coin—this trick works every time in my garden.
Here’s a bonus tip: Harvest in the morning when temperatures are cool. Cherries picked in the heat of the day bruise more easily and lose flavor faster. I always set out a cooling bin with damp towels to keep freshly picked cherries fresh until I can process them.
What if your cherries pass the tests but still taste tart? That might mean they need a few more days on the tree. Sweetness develops slowly in the final stages of ripening, so don’t rush it!
For sour cherries, tartness is normal—they’re prized for baking and preserves, not fresh eating.
Finally, watch for uneven ripening, especially in large trees. Cherries on the south side of the tree ripen first, followed by those on the east and west sides.
I pick these first, then move to the north side last. This staggered approach ensures I don’t miss any ripe fruit while avoiding overripe mess.
With these three tests, you’ll harvest cherries at their peak sweetness every season. And remember: Patience pays off—cherries won’t get sweeter after picking, so wait for the perfect moment! 🍒
Step-by-step cherry harvesting techniques for maximum yield
Once your cherries pass the ripeness tests, it’s time to harvest with care. The method you choose—hand-picking or using harvesters—will impact both yield and fruit quality.
I’ve found that small orchards or home gardens benefit most from hand-picking, while larger commercial growers rely on mechanical harvesters for efficiency.
Timing your harvest correctly is crucial. For fresh eating, aim to pick cherries when they’re fully colored and slightly soft to the touch. If you’re planning to store or preserve them, harvest a bit earlier—when they’re still firm but ripe—to prevent overripening during storage.
⚠️ WARNING: Avoid These Harvesting Mistakes!
For hand-picking, use a cherry picker or sturdy ladder to reach higher branches. Gently grasp the cherry between your thumb and forefinger, then twist it slowly to avoid damaging the stem. This method ensures minimal bruising and maximizes fruit integrity for fresh markets.
If you’re harvesting for storage or processing, pick cherries slightly firmer than you would for fresh eating. Store them in a single layer in the refrigerator to prevent bruising. For long-term storage, consider freezing or canning—both methods work best with slightly underripe cherries.
For larger orchards, mechanical harvesters can speed up the process, but they require careful calibration to avoid overharvesting or bruising. Always adjust the machine’s vibration settings to match your cherry variety’s sensitivity. I recommend testing on a small branch first to gauge the right intensity.
Finally, clean up after harvesting by removing fallen fruit and debris to prevent pests and diseases. Prune any damaged or overcrowded branches to improve air circulation and next year’s fruit production. With these techniques, you’ll maximize your cherry yield while keeping your fruit at its best!