
How To
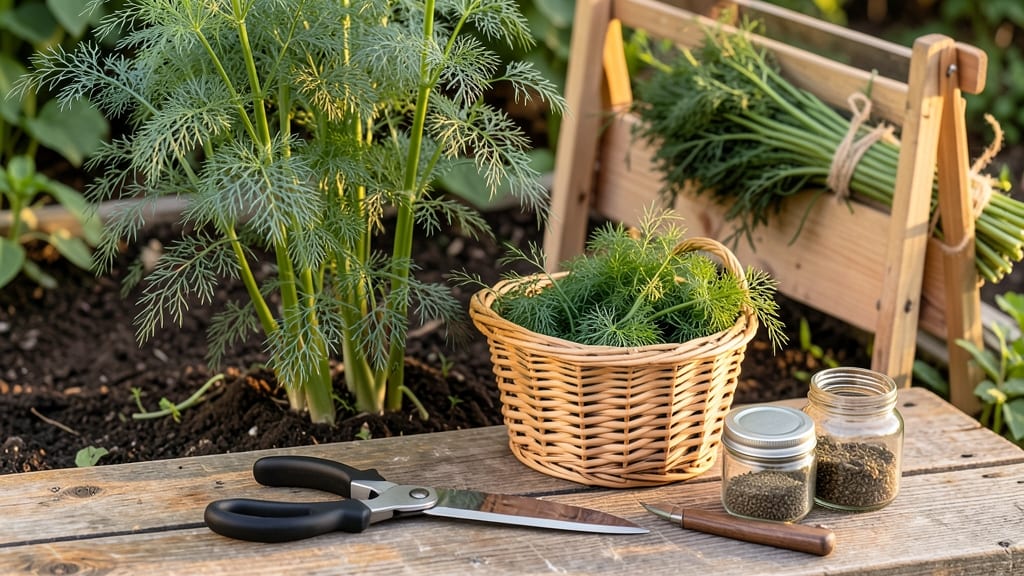
To harvest and store dill at its peak flavor, timing and technique make all the difference—especially when you want that garden-fresh taste to last beyond the harvest season.
Picture this: you’ve just snipped a bunch of fragrant 🌿 dill from your garden, and now you’re wondering how to keep it vibrant for weeks (or even months).
The secret lies in knowing exactly when to cut those tender stems and how to preserve them without losing that bright, tangy essence.
Whether you’re harvesting leaves for soups or seeds for pickling, the right methods can extend freshness and save you from wilted herbs in the back of the fridge.
Below, I’ll walk you through the best ways to harvest dill for maximum yield and store it—whether you prefer refrigeration, freezing, or drying.
By the end, you’ll have a foolproof system to enjoy homegrown dill all year, without the guesswork. Let’s dive in!
When and how to harvest dill for maximum flavor and yield
Harvesting dill at the right time ensures your garden produces the brightest flavor and highest yield. Unlike many herbs, dill offers two harvest opportunities: leaves for cooking and seeds for pickling or seasoning.
Timing matters—cut leaves too late, and the flavor becomes bitter, while seeds must dry fully for optimal use.
For leaf harvests, aim to pick dill when plants are 4-6 inches tall and leaves are fully developed but still tender. This usually happens 60-75 days after planting, depending on your climate. If you wait until seed heads form, the leaves will taste harsh and woody.
To encourage continuous regrowth, never remove more than one-third of the plant at once. Use clean, sharp pruning shears or scissors to cut just above a leaf node. This prevents damage and promotes bushier growth, giving you more harvests throughout the season.
Seed harvesting requires patience—wait until the seed heads turn brown and papery, typically 90-120 days after planting. At this stage, the seeds are ready for drying and storing. If you harvest too early, the seeds won’t germinate properly.
Here’s a quick reference for harvest timing based on your planting season:
| Harvest Type | Best Time | Plant Stage | Storage Method |
|---|---|---|---|
| Leaves (fresh) | 60-75 days | 4-6" tall, tender leaves | Refrigerate or freeze |
| Leaves (dried) | 60-75 days | Mature but not woody | Hang or air-dry |
| Seeds | 90-120 days | Brown, dry seed heads | Dry and store in jars |
If you’re growing dill in USDA Zone 6a or warmer, you can extend your harvest season by planting two crops: one in early spring (March-May) and another in late summer (August-September). This ensures a steady supply of fresh dill from June through November.
Watch for over-harvesting signs, like yellowing leaves or stunted growth. These indicate you’re taking too much too soon. Always leave at least half the plant intact to maintain productivity. A healthy dill plant can provide multiple harvests over 6-8 weeks if cared for properly.
For seed-saving purposes, allow some plants to flower and go to seed naturally. Once the seed heads turn brown, cut them and hang them upside down in a paper bag to dry completely. This prevents seeds from scattering and ensures a clean harvest for next year’s garden.
After harvesting, rinse leafy dill gently under cool water and pat dry with a clean kitchen towel or paper towel. Store it properly to preserve its fresh, tangy flavor for weeks.
For seeds, remove them from the dried heads and store in an airtight container in a cool, dark place.
By following these harvesting guidelines, you’ll enjoy maximum flavor and productivity from your dill plants all season long. Happy harvesting! 🌿✂️
Best dill storage methods to preserve freshness and flavor
Once you’ve harvested your fresh dill, proper storage is key to maintaining its bright, tangy flavor. Dill wilts quickly, but with the right techniques, you can extend its shelf life for weeks—even months.
Whether you prefer refrigeration, freezing, drying, or fermenting, each method has unique benefits and trade-offs. Let’s dive into the best ways to store dill so you can enjoy its flavor long after harvest season ends.
For short-term storage (up to 2 weeks), refrigeration is your best friend. Dill thrives in a humid environment, so wrapping stems in a damp paper towel and placing them in a sealed container works wonders.
This mimics the plant’s natural moisture levels and slows wilting. If you’re planning to use dill in cooking or recipes within a week, this method keeps it crisp and aromatic.
✅ Pros and Cons of Dill Storage Methods
Refrigeration
- Pros: Keeps flavor fresh for 1-2 weeks
- Pros: Easy to access for quick recipes
- Cons: Leaves may wilt over time
Freezing
- Pros: Preserves flavor for 6-12 months
- Pros: Great for bulk harvests
- Cons: Texture changes slightly
Drying
- Pros: Long shelf life (1 year+)
- Pros: Compact storage
- Cons: Flavor intensifies but texture changes
Fermenting
- Pros: Unique tangy flavor boost
- Pros: Preserves for months
- Cons: Requires extra prep time
If you’re prepping for long-term storage, freezing is a game-changer. Chop fresh dill leaves finely and store them in airtight freezer bags or ice cube trays with water or oil.
This method locks in flavor for 6-12 months, making it perfect for gardeners who love to preserve harvests. Just remember: frozen dill works best in cooked dishes where texture isn’t critical.
For drying dill, bundle stems together and hang them upside down in a warm, dry place away from direct sunlight. Once completely dry (about 2 weeks), strip the leaves and store them in an airtight container.
Dried dill loses some moisture but retains its aromatic compounds, making it ideal for seasoning blends or long-term storage. Pro tip: Use a dehydrator for faster, more consistent results.
Fermenting dill adds a funky, tangy twist to your storage options. Combine chopped dill with salt and water in a jar, then let it ferment for 1-2 weeks. This method not only preserves flavor but also enhances it with probiotic benefits.
Fermented dill is perfect for pickling or adding depth to sauces and marinades. Just be sure to store it in the refrigerator after opening.
Avoid these common storage mistakes: storing dill in plastic bags (traps moisture), exposing it to light or heat (speeds up degradation), or washing it before storage (adds moisture). Instead, pat leaves dry before storing and opt for paper towels or breathable containers.
With these tips, your dill will stay fresh and flavorful for as long as possible.