
How To
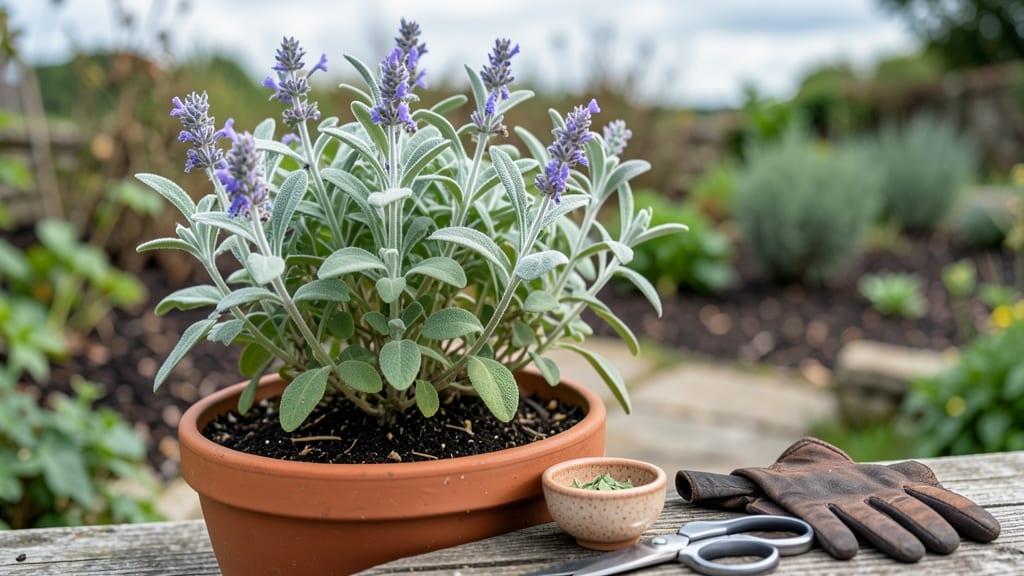
Harvesting sage leaves properly ensures your 🌿 herb stays flavorful and healthy for years to come—timing and technique are everything.
Harvesting sage leaves at the wrong time can mean sacrificing flavor, stunting growth, or even killing your plant—so timing and technique matter more than you think. One wrong cut can turn your kitchen staple into a sad, woody shrub.
If you’ve ever pulled a leaf too early and ended up with bitter, underdeveloped foliage, you know how frustrating it can be. The good news? With the right approach, you’ll get rich, aromatic leaves while keeping your sage bushy and productive.
Below, I’ll walk you through the best time to harvest, the tools you’ll need, and step-by-step methods to preserve your plant’s health—plus how to store your harvest for cooking or remedies.
When to harvest sage leaves for peak flavor and plant health
Timing is everything when harvesting sage leaves. If you harvest too early, the flavor will be weak, and if you wait too long, the plant may suffer.
The best time to harvest is when your sage plant is mature but hasn't yet flowered—this ensures the most aromatic and flavorful leaves. For most varieties, this window opens in late summer to early fall, typically between August and October in USDA Zone 6 and similar climates.
Why does timing matter so much? Sage plants produce their most potent oils before flowering. Once buds appear, the plant redirects energy toward reproduction, leaving leaves with a milder, less desirable taste.
Over-harvesting can also stress the plant, leading to stunted growth or even death. Balance is key—harvest wisely to keep your sage thriving for years.
- 🌱 Leaf Size: Leaves should be fully developed (about 1-2 inches long) and deep green.
- 👃 Aroma Test: Crush a leaf—it should release a strong, earthy sage scent.
- ✂️ Stem Woody: Stems should be semi-woody and snap cleanly when bent.
- 🌡️ Temperature: Harvest on mild days (60-75°F) to avoid wilting.
- 🌸 No Flowers: Avoid harvesting once flower buds appear—they signal declining flavor.
New sage plants (under 12 months old) should be harvested lightly to encourage root and stem growth. Focus on the outer leaves first, leaving the inner growth intact. This method prevents over-stressing young plants while still yielding high-quality leaves.
For established plants, you can harvest up to one-third of the plant at a time without causing damage.
Seasonal timing also plays a role. In spring, harvest sparingly to avoid weakening the plant before its peak growth phase. By late summer, your sage should be robust enough to handle more frequent harvests.
Stop harvesting entirely in fall as temperatures drop, allowing the plant to prepare for dormancy. This seasonal rhythm keeps your sage healthy and productive year after year.
Over-harvesting is a common mistake that can kill your sage plant. When you remove too many leaves or stems at once, the plant loses its ability to photosynthesize efficiently. This leads to yellowing leaves, weak stems, and even death in extreme cases.
To avoid this, follow the "one-third rule": Never harvest more than one-third of the plant in a single session. Space harvests 4-6 weeks apart during the growing season.
Another critical factor is leaf maturity. Immature leaves are small, tender, and lack the bold flavor of fully developed ones. Wait until leaves are at least 1-2 inches long and have a wrinkled texture.
These leaves contain the highest concentration of volatile oils, which give sage its signature aroma. If you harvest too early, you’ll end up with leaves that taste bland and watery—hardly worth the effort!
Proper timing also affects regrowth. Sage plants are perennials, meaning they regrow each year if cared for correctly. By harvesting at the right time, you encourage bushier growth and more abundant foliage.
Prune just above a leaf node (the point where leaves attach to the stem) to stimulate new growth. This technique ensures your sage remains compact and productive for seasons to come.
If you’re growing sage in containers, timing becomes even more critical. Potted sage has limited resources, so over-harvesting can deplete its energy reserves quickly. Monitor your plant closely and adjust your harvest schedule based on its growth rate.
Container-grown sage may need less frequent harvesting than in-ground plants to maintain vigor. Always prioritize the plant’s health over immediate yield.
Finally, consider your climate zone. In warmer zones (7-10), sage may stay productive later into fall, while in cooler zones (3-5), the harvest window closes earlier. Pay attention to your local last frost date and adjust accordingly.
For example, in Zone 6, aim to finish harvesting by mid-October before frost sets in. This ensures your sage survives winter and returns stronger next year.
Step-by-step guide to harvesting sage without damaging the plant
Harvesting sage leaves properly ensures your plant stays healthy and productive for years. The key is using the right cutting techniques and timing to avoid stressing the plant. I’ve learned that pruning at the right time and with the right tools makes all the difference—especially for encouraging bushier growth.
Before you begin, gather your tools: a pair of clean, sharp pruning shears or scissors, and a small container for your harvest. Avoid using your fingers to pinch leaves, as this can damage the plant’s stem structure and reduce regrowth.
Now, let’s dive into the step-by-step process to harvest sage like a pro.
How to Harvest Sage Leaves
- Step 1: Choose the right time—harvest in the morning after dew dries but before the sun is harsh. This ensures maximum essential oils and flavor in the leaves.
- Step 2: Select healthy, mature stems with at least 3-4 pairs of leaves. Avoid cutting into the woody base of the plant to prevent damage.
- Step 3: Use your pruning shears to cut just above a leaf node at a 45-degree angle. This encourages new growth from that point.
- Step 4: Harvest no more than one-third of the plant at a time. Over-harvesting can weaken the sage and reduce its ability to regrow.
- Step 5: Remove any yellow or damaged leaves immediately. These can harbor pests or diseases and affect the quality of your harvest.
- Step 6: After harvesting, water the plant deeply to help it recover. This is especially important if you’ve cut back more than usual.
Once you’ve harvested your sage, you might notice the plant looking a bit sparse or leggy. This is normal! Sage responds well to pruning, and cutting back the stems encourages bushier, fuller growth.
In fact, regular pruning can keep your sage plant thriving for years, producing more leaves over time.
After harvesting, it’s also a good idea to fertilize lightly with a balanced herb fertilizer to support regrowth. I recommend using a 5-10-10 NPK ratio fertilizer every 4-6 weeks during the growing season. This helps replenish nutrients lost during harvesting and keeps your sage vibrant and healthy.
If you’re planning to dry or store your sage, hang the stems upside down in a dark, well-ventilated area for 1-2 weeks. This preserves the leaves’ flavor and aroma while keeping them usable for months.
For immediate use, store fresh sage in the refrigerator for up to a week or freeze it in an airtight container.
Remember, the goal is to harvest sustainably. By following these steps, you’ll enjoy a bountiful sage plant year after year, with minimal stress and maximum flavor. Happy harvesting! 🌿✂️