
How To
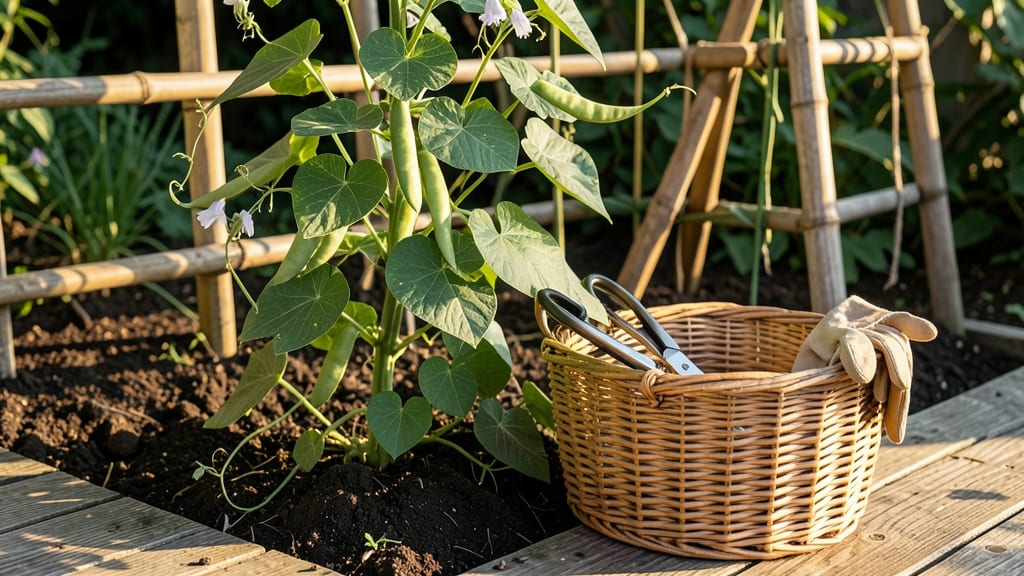
Harvesting pole beans at the right time turns those 🌱 vines into a flavor explosion—crisp, sweet, and packed with garden-fresh goodness.
Here’s the secret: most gardeners wait too long, ending up with tough, stringy pods instead of the tender bites they crave. The difference between perfect and overripe beans comes down to three simple checks—pod size, firmness, and even the sound they make when you snap them.
You’ll learn exactly when to pick for peak texture, how to handle those delicate pods without bruising them, and why harvesting regularly keeps your plants producing like crazy all summer. No more wasted beans or bitter disappointments—just a steady stream of homegrown crunch.
Ready to turn your pole bean harvest into the star of your dinner table? Let’s dive into the three tactile cues that guarantee every pod you pick is at its best.
3 Tactile cues to harvest pole beans at peak crunch and sweetness
Pole beans reward gardeners with sweet, tender pods when harvested at the right moment. The key lies in your hands and senses—not just what you see. Overripe beans turn tough and stringy, while underripe ones lack flavor.
I’ve learned that three tactile cues—pod firmness, seed development, and the "snap test"—are foolproof ways to time your harvest perfectly. These methods work for all pole bean varieties, from Kentucky Wonder to Scarlet Runner.
First, let’s talk about pod firmness. The ideal pole bean pod should feel firm but slightly yielding when gently squeezed between your thumb and forefinger. Think of it like a crisp apple—not mushy, not rock-hard. This texture signals the pod is at its peak crunch and sweetness.
If it’s too soft, it’s underripe; if it’s hard, it’s past its prime. This simple touch test saves me from picking beans that’ll turn into tough, fibrous nightmares.
Next, check the seed development inside the pod. Open a pod lengthwise and look for small, pea-sized seeds that are just beginning to form. If the seeds are still tiny and barely visible, the pod needs more time.
But if they’re large and filling the pod, you’ve waited too long. The sweetest beans have seeds that are visible but not dominant—this is your sweet spot for flavor.
I always carry a small knife or scissors in my harvesting basket to split pods quickly and check seed size.
Here’s where it gets fun: the "snap test". Hold a pod by its stem end and gently bend it toward you. A perfectly ripe pole bean pod will snap cleanly with a slight crackling sound, almost like a dry twig. If it bends without snapping, it’s underripe.
If it resists and feels leathery or woody, it’s overripe. This auditory cue is my favorite because it’s instant feedback—no guesswork needed. I’ve trained my kids to use this test too, and they love the crunchy reward of a properly harvested pod.
🌱 3 Tactile Cues for Perfect Pole Bean Harvest
- 1. Pod Firmness: Gently squeeze the pod—it should feel firm but slightly yielding, like a crisp apple. Avoid pods that are soft (underripe) or hard (overripe).
- 2. Seed Development: Split the pod open—seeds should be pea-sized and just visible. If they’re tiny (underripe) or large (overripe), adjust your harvest timing.
- 3. Snap Test: Bend the pod toward you—it should snap cleanly with a slight crackle. No snap? It’s underripe. Feels woody? It’s overripe.
Pro Tip: Harvest in the morning when pods are cool and crispest. Use sharp pruners or clean scissors to avoid damaging the plant.
Timing your harvests based on these cues isn’t just about flavor—it’s about encouraging your plants to produce more. When you pick beans at their peak, the plant redirects energy to growing new pods instead of letting old ones mature.
I’ve seen my pole bean yields double when I stick to this method. Plus, the sweetness compounds over time, so the more you harvest, the sweeter each new pod becomes. It’s like nature’s reward system!
Visual cues matter too, but they’re secondary to these tactile tests. Look for deep green, glossy pods that are 4-6 inches long. Avoid pods with yellowing tips or brown streaks, as these are signs of overripeness.
I always harvest every 2-3 days during peak season to stay ahead of the ripening curve. This frequent harvesting prevents the plant from getting overwhelmed and ensures a steady supply of sweet, crisp beans all season long.
One mistake I used to make was relying solely on pod size. I’d pick beans at 5 inches thinking they were perfect, only to find them woody and bland. That’s when I discovered the power of the snap test.
Now, I combine all three cues for 100% accuracy. For example, a 5-inch pod might feel firm but fail the snap test—this tells me to wait another day. Conversely, a 4-inch pod that snaps crisply gets harvested immediately. This multi-sensory approach has become my secret weapon for garden-fresh flavor.
Don’t forget to handle your harvested beans gently. Place them in a mesh bag or perforated container to allow airflow and prevent moisture buildup. Store them in the refrigerator for up to 5 days or eat them fresh for the best texture.
I love snapping off a few pods for a quick snack while I’m weeding—there’s nothing like the sweet, crunchy satisfaction of a perfectly timed harvest. With these tactile cues, you’ll never settle for anything less than peak pole bean perfection.
Next time you’re in your garden, try these methods and notice the difference in flavor. Your taste buds—and your plants—will thank you. Happy harvesting! 🌱
Step-by-step harvesting technique for pole beans: tools and methods
Harvesting pole beans efficiently keeps your plants productive and your pods tender and flavorful. The right tools and techniques make all the difference—whether you're working with trellised varieties or bush types. I’ll walk you through the best methods to avoid damaging vines while maximizing your yield.
First, choose the right harvesting tools. For trellised pole beans, sharp pruning shears or small handheld scissors work best to snip pods cleanly without tugging. For bush varieties, your fingers are often enough—just pinch the stem just above the pod to avoid bruising the plant.
Always keep tools clean and sharp to prevent disease spread.
How to Harvest Pole Beans Step-by-Step
- 1 Inspect pods daily—look for 4-6 inch length and deep green color. Avoid harvesting when pods are smaller than 3 inches or overly mature.
- 2 Grip pods gently—use your thumb and index finger to pinch the stem just above the pod. For trellised beans, snip with clean shears to avoid tearing leaves.
- 3 Harvest every 2-3 days during peak production to encourage continuous flowering. Regular picking prevents over-mature pods and keeps plants productive for 6-8 weeks.
- 4 Store harvested beans in a paper bag in the fridge for 3-5 days or blanch and freeze for long-term storage. Avoid washing until ready to use.
- 5 Check for pests after harvesting—remove any damaged pods or chewed leaves immediately. This keeps your plants healthy and high-yielding.
For trellised pole beans, always harvest from the bottom of the plant upward. This encourages new growth at the top while keeping the vines structured and supported. If you notice pods curling or yellowing, it’s a sign to harvest sooner—they’ll toughen quickly.
Bush varieties require a slightly different approach: harvest pods when they’re still curved, as straight pods often mean they’ve passed their prime. Use a light touch to avoid snapping stems, which can stress the plant. Regular harvesting stimulates more flowering and pod production.
Pro tip: Harvest in the morning when pods are cool and crisp. This ensures the best texture and flavor. Avoid harvesting after rain, as wet pods can bruise easily and spoil faster.