
How To
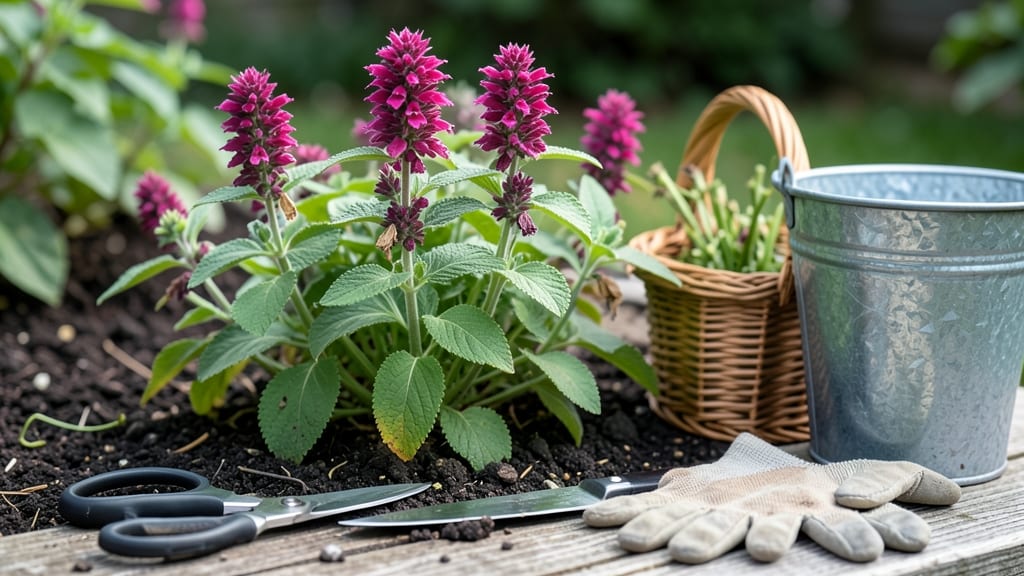
To harvest bee balm 🐝 at the perfect moment, focus on stems that snap cleanly when bent—not when flowers are fully spent.
Picture this: you’re reaching for a handful of vibrant blooms, only to realize they’ve already gone to seed. That’s the moment you’ve missed the ideal harvest window, and your plant’s next flush of flowers suffers for it.
The trick is timing it just right—when buds are fully open but before they wilt.
Harvesting bee balm correctly isn’t just about getting fresh stems for bouquets or teas; it’s also about encouraging your plant to bush out and bloom longer. Too aggressive, and you’ll stunt its growth.
Too late, and you’re left with weak, flavorless stems. I’ll walk you through the exact techniques to balance both—so you get the best of both worlds.
From the right tools to use to how often you should cut back, you’ll learn everything needed to keep your bee balm thriving while reaping a steady harvest all season long. Let’s get started.
When to harvest bee balm stems for maximum flavor and longevity
Bee balm (Monarda spp.) produces stunning purple, pink, or red blooms that attract hummingbirds and bees, but harvesting at the wrong time can ruin both the plant and your harvest.
The best time to harvest is when flower buds are fully open but haven’t yet started wilting—this ensures maximum flavor intensity and aromatic oils in the leaves and stems. For culinary use, like teas or garnishes, harvesting just before full bloom captures the brightest flavors.
Timing matters because bee balm’s flavor compounds peak at mid-bloom. If you wait until flowers fade, the stems become woody and bitter, while harvesting too early means missing out on the plant’s full potential.
The ideal harvest window spans from mid-summer to early fall, typically between July and September, depending on your climate zone. In warmer regions (zones 6-9), you can extend harvesting into October.
Here’s the key: Harvest when stems snap cleanly with a slight bend—this is your cue that the plant is ready. If stems bend without breaking, they’re not mature enough. Overharvesting weak stems can stress the plant, reducing next year’s blooms.
Aim to harvest no more than one-third of the plant at a time to maintain its health and encourage bushier regrowth.
🐝
For bouquet arrangements, harvest bee balm in the morning after dew dries—this ensures stems are hydrated and last longer in vases. If you’re harvesting for drying or teas, focus on the leaves and buds at the bud stage, as they retain the most essential oils.
To preserve flavor, avoid harvesting after rain, as moisture dilutes the plant’s natural compounds.
One common mistake is harvesting too many stems at once, which can defoliate the plant and reduce its ability to photosynthesize. Instead, space out harvests every 2-3 weeks to give the plant time to recover.
If you notice leggy stems or sparse blooms after harvesting, it’s a sign you’ve overharvested—trim back lightly to encourage new growth.
Pro tip: Deadhead spent blooms regularly to redirect the plant’s energy into producing more flowers rather than seeds. This not only extends the blooming season but also makes future harvests more abundant.
Just be sure to leave at least half the flowers intact to allow for seed production, which supports the plant’s natural cycle.
🌺
To maximize flavor and longevity, harvest bee balm on a dry, sunny day when stems are firm. Use clean, sharp pruners to make cuts at a 45-degree angle just above a leaf node.
This encourages new growth and prevents disease. For culinary uses, like bee balm lemonade, harvest younger leaves and flowers—they’re milder and more aromatic than mature stems.
Finally, always leave at least 3-4 inches
Step-by-step guide: how to harvest bee balm without damaging the plant
Harvesting bee balm (Monarda spp.) at the right time and with the right technique ensures you get flavorful stems while keeping your plant healthy and blooming. The key is to harvest when flower buds are fully open but before they wilt—this preserves your plant’s energy for more blooms.
Overharvesting can weaken stems and reduce next year’s flowers, so follow these steps to harvest like a pro.
Before you begin, gather your harvesting tools. You’ll need a pair of clean, sharp pruners or garden shears to make precise cuts. Avoid using dull tools, as they can crush stems and invite disease.
A small bucket of cool water will keep your harvested stems fresh while you work. Work on a dry, sunny morning to minimize stress on the plant and reduce the risk of fungal issues.
Select stems with fully open flowers but avoid those that are already wilting. Look for vibrant petals and firm stems—these are ready for harvest. Avoid cutting stems with closed buds, as they won’t open fully after picking.
Use your sharp pruners to cut stems at a 45-degree angle, about 2-3 inches below the flower cluster. This encourages new side shoots to grow, promoting a bushier plant. Avoid tearing stems, as this can damage the plant and reduce its ability to regrow.
Never remove more than one-third of the plant’s blooms at once. Focus on harvesting from the outer stems first, leaving the center stems to continue blooming. This method ensures your bee balm stays full and productive for weeks.
Harvest every 2-3 weeks during the peak blooming season (typically July through September). This frequency gives your plant time to recover and produces a steady supply of fresh blooms. Avoid harvesting in late summer, as this can stress the plant before winter.
After harvesting, water your bee balm deeply to help it recover. Remove any wilted or damaged leaves to improve airflow and reduce disease risk. Apply a light layer of mulch around the base to retain moisture and protect roots.
To dry your bee balm, hang stems upside down in a well-ventilated, dark space for 1-2 weeks. Once dry, store flowers in an airtight container away from light. For fresh use, place stems in cool water and refrigerate for up to 5 days.
If you’re harvesting bee balm leaves for tea or culinary use, focus on the younger, tender leaves near the top of the plant. Avoid removing more than 10-15% of the foliage at a time to prevent stress.
Always harvest leaves in the morning after the dew has dried for the best flavor and aroma.
With these techniques, your bee balm will stay healthy, produce abundant blooms, and provide you with a steady harvest for bouquets, teas, or culinary delights. Happy harvesting! 🌺